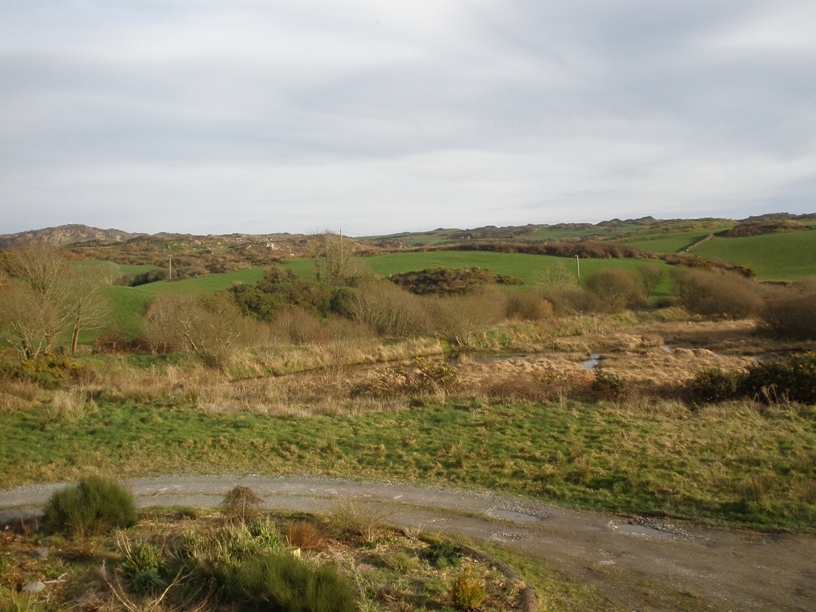
The view from my house: not science fiction enough.
As a companion piece to the step by step that I posted about my Wounded City Zuzzy mat, I figured that I would put up a few shots of the process that I went through with for my Scourged Forest mat.
For many years I have usually had some way to represent green areas in games to hand, but I have had an aversion to using them for a couple of reasons. As I tend to play sci-fi games almost exclusively I dont really want to play games in settings that look like the view from a window of my house: its just not exotic enough.
Green grassy hills somehow feels a bit too cheap, too much like a low budget episode of Doctor Who. It is somehow inappropriate when my brightly coloured space ranger is seen wandering around shooting his blasters at giant lizard-bugs over grassy dales and hills. Maybe if I lived in Nevada or somewhere then grassy hills would seem exotic to me, but I dont so it doesnt. So I have tended to avoid the eighteenth hole look for my gaming tables.
Having dealt with my urban table needs with the Wounded City mat, the other mat that I required was one suitable for alien landscapes and post apocalyptic deserts: something that would fit in well with my ongoing Standard Falls and Planet Heck scenery projects.
Zuzzy dont yet have a desert mat available (although I have heard that there is one in production). They do have a Sulfur Fields mat available which represents cooled lava flows and the like but something about that mat just doesnt grab me. I am not sure if it is the paint job in the site photos or the paint jobs that I have seen gamers give it online, but for whatever reason it doesnt conjur up the sort of wasteland image that I want.
So I didnt buy that one and I bought the Scourged Forest instead.
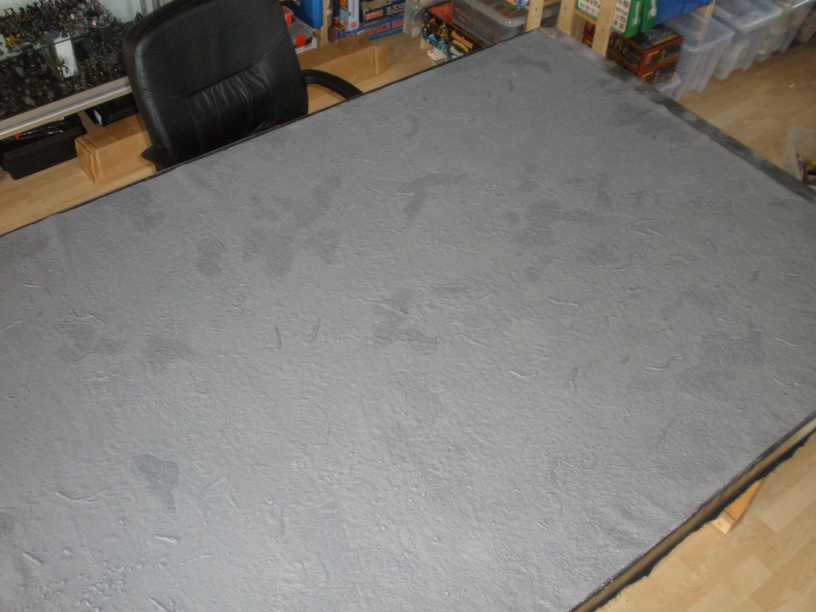
I doesnt really look like much here.

Firstly I took the sample mats that I had and sprayed them with white, black and red oxide primer spray cans. I hoped that the variation in visual texture that these give would show through the layers and washes above them once finished.
As all of these areas would be covered in layers of paint later there wasnt really any point in being too subtle, so adding lighter (white) and darker (black) tones was an obvious choice. The red is a less obvious choice, but as some of the other terrain features that I have use the red oxide colour I figured that it wouldnt be any harm to potentially tie them to the mat in any case.

Next I used a paint roller to apply white wall emulsion paint to the test pieces. I did this because I knew that the Raw Sienna paint that I use for my desert terrain bases isnt terribly opaque, so it would need the white to give it some lift. Also several thin layers of colour help to make bits like this a bit more believable, so the white layer would help with adding a gradient to the Raw Sienna application.
I made sure that the roller wasnt clogged with paint, the opposite in fact. I was going for an overbrush/drybrush sort of effect so I removed a lot of the paint from the roller before application.
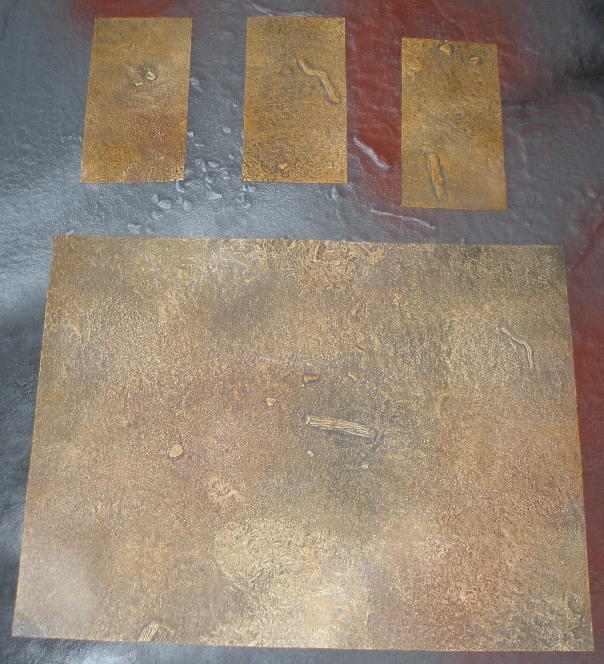
Once the white had dried I rolled the sample pieces with Raw Sienna. At this stage I was pleased that the various colours sprayed on earlier were still showing through. As the samples (and the mat itself) were going to be getting a dark wash as one of the final stages it was impossible to know if the areas originally spray painted would still be visible in the end.
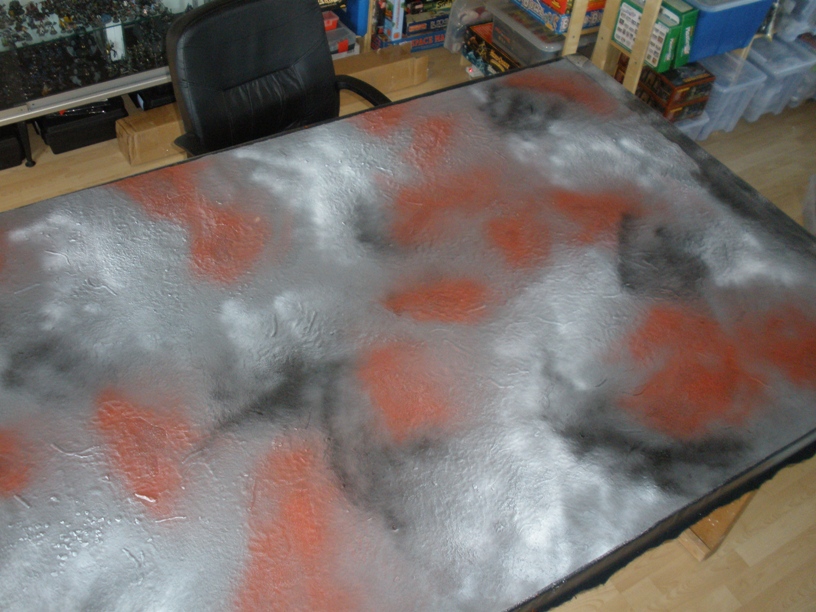
My impatience to get started on the main mat got the better of me after seeing the samples at this stage, so I brought the main mat outside onto a blanket and sprayed it with the colours used earlier. I focused the red spray on some specific areas sculpted onto the mat and I sprayed the white and black anywhere that I felt like spraying them.

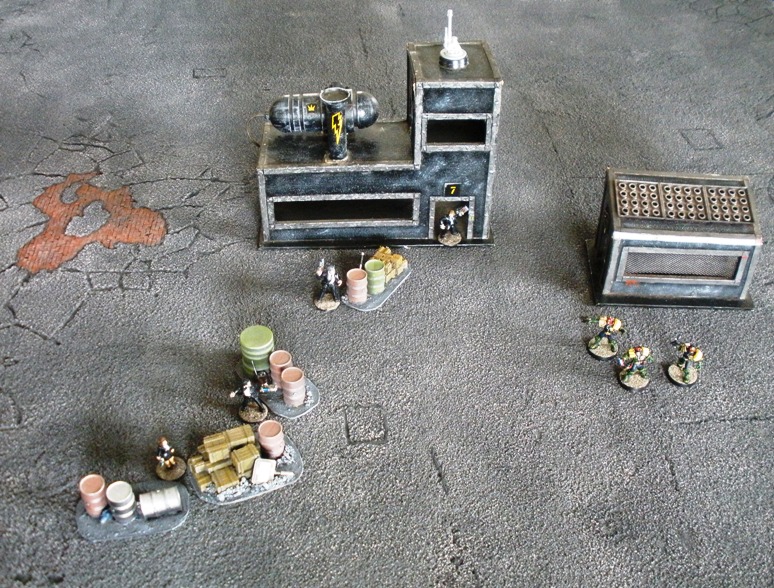
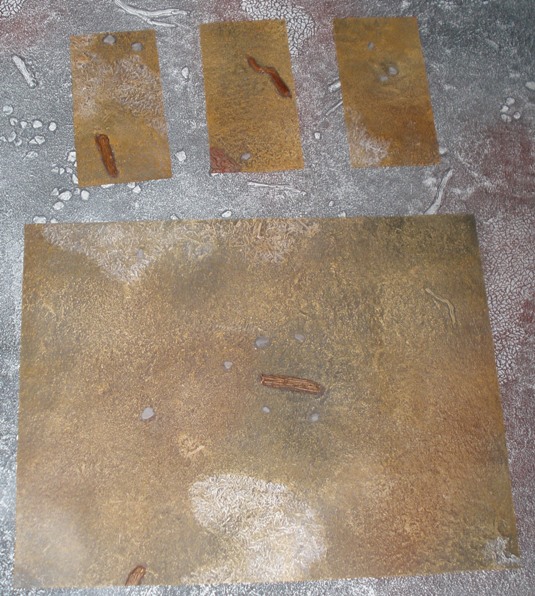
While I waited for the spray paint to dry a bit I plonked a couple of my scenery pieces on the sample mat, just for a look.
I have used cork tiles to make and to base a number of my scenery pieces for a few reasons (cheap, easy to work, interestingly textured etc). The rocky piece on the left in the photo above is bits of cork tile glued together in layers and then roughly painted with grey, black and a bit of Raw Sienna.
The base of the shack on the right is also made from cork but in this case it was sprayed black as I painted the shack. In retrospect I should have brushed the edges of the shacks base with white before I applied the Raw Sienna, as it doesnt match the other pieces very well. So I added a little bit of scenery base blending to the to-do list.
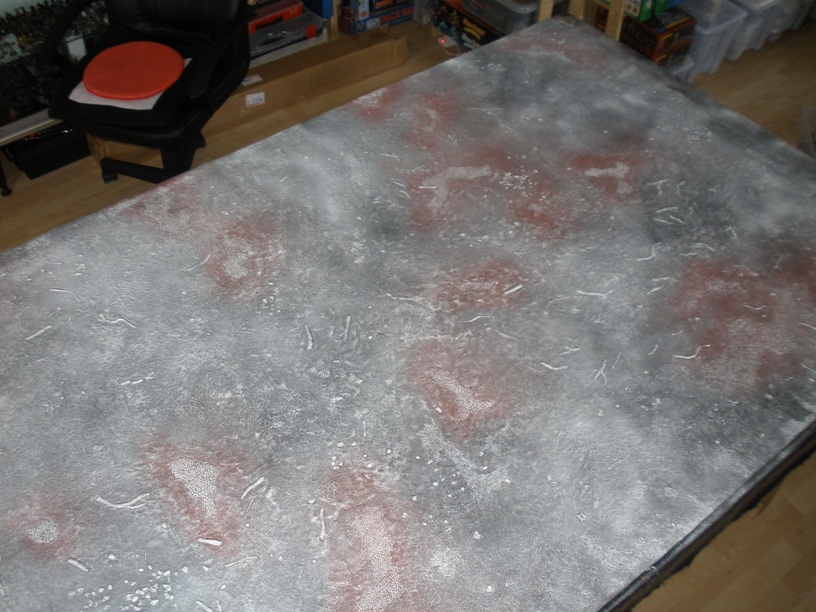
Once the spray paint was dry I rolled the main mat with white emulsion, just like I did with the sample earlier.
While I was waiting for the white on the main mat to dry I started to experiment on the detail on the samples, to see what colours I wanted to use for those.
The brown on the wood was a mistake, it made them look like small cat turds.
The grey on the rocks was ok, but possibly it stands out from the supposedly dusty ground a little too much.
I tested a reddish brown paint on the dried up pond looking elements but I didnt like the result. There are many of these areas on the map (but very few on the samples unfortunately) so I decided to to underplay them rather than have them stand out too much.
The scrub areas look a little like exposed chipboard, but I hoped that a drybrush of off white will make them look ok, once the washing stages are done.
I enjoy using washes in my miniature painting and terrain making, but it can be a bit nerve wracking, particularly on a large, expensive, irreparable piece like this. Its impossible to be sure that it will all work out until late in the process.
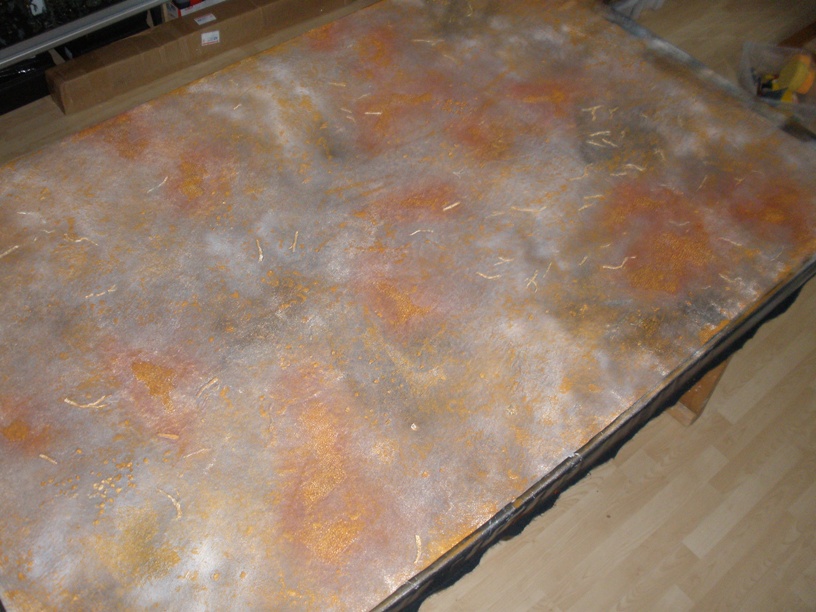
Now that the white on the mat had dried the next step was to roll on some Raw Sienna. As I didnt want to apply the paint in very thick layers I did this in a number of stages, the first one being shown above.
Also of note is that while rolling the paint on I then wiped the Raw Sienna off each of the logs and bits of dead tree on the map, exposing some of the white underneath. I hope that this would with give a look reminiscent of the sort of dead tree stumps and logs that tend to be seen with vultures and steer skulls in Westerns.

This is what the mat looked like after a second thin rolling of Raw Sienna.
At this point the batteries in the camera ran out, so the record gets a bit patchy. So you will have to take my word for it regarding what happened next.
I gave the mat a third, very light rolling of Raw Sienna to cover up any areas where a little too much of the original mat colour was visible. As the mat was going to be covered in a wash of thinned Raw Sienna/black mix which would seep into the recesses, it was important not to get too carried away trying to get full coverage on the mat.
The individual rocks were painted in a mix of grey and Raw Sienna. I added the base colour used for the mat to the mix too ensure that while the stones stood out, that they still looked like bits of the landscape rather than bits of gravel perched on top of it.
I lightly drybrushed the scrub areas with an off white colour. I hoped that after the wash those areas would look vaguely like dried grass.
The broken tree trunks were also given a light drybrush of a light brownish white, sort of a bone colour, so that they would also look like dead plants once the wash had dried.
Finally I mixed Raw Sienna and black with water into a milky consistency and brushed it over the entire board. I tried to get it into the recesses of the mat without letting it pool too heavily. Then I left the mat to dry and went to bed.
The following morning the wash had dried. It had given definition and shadow to all of the more three dimensional elements (around the rocks, in between the cracks in the dried mud areas, into the grain of the dead wood) while also softening the contrasts between the various colour layers. I am very happy with how it turned out. After quickly adding some of the colour mixes used to the edges of my existing terrain I was finished.

Like the urban mat, I am very happy with the Scourged Forest mat. I played a game on it last night and it really is a great surface for gaming on. At the time of writing I cant recommend these mats highly enough.
Comments and criticisms all welcome.
Filed under: Terrain | Tagged: 2012, Zuzzy | 12 Comments »