

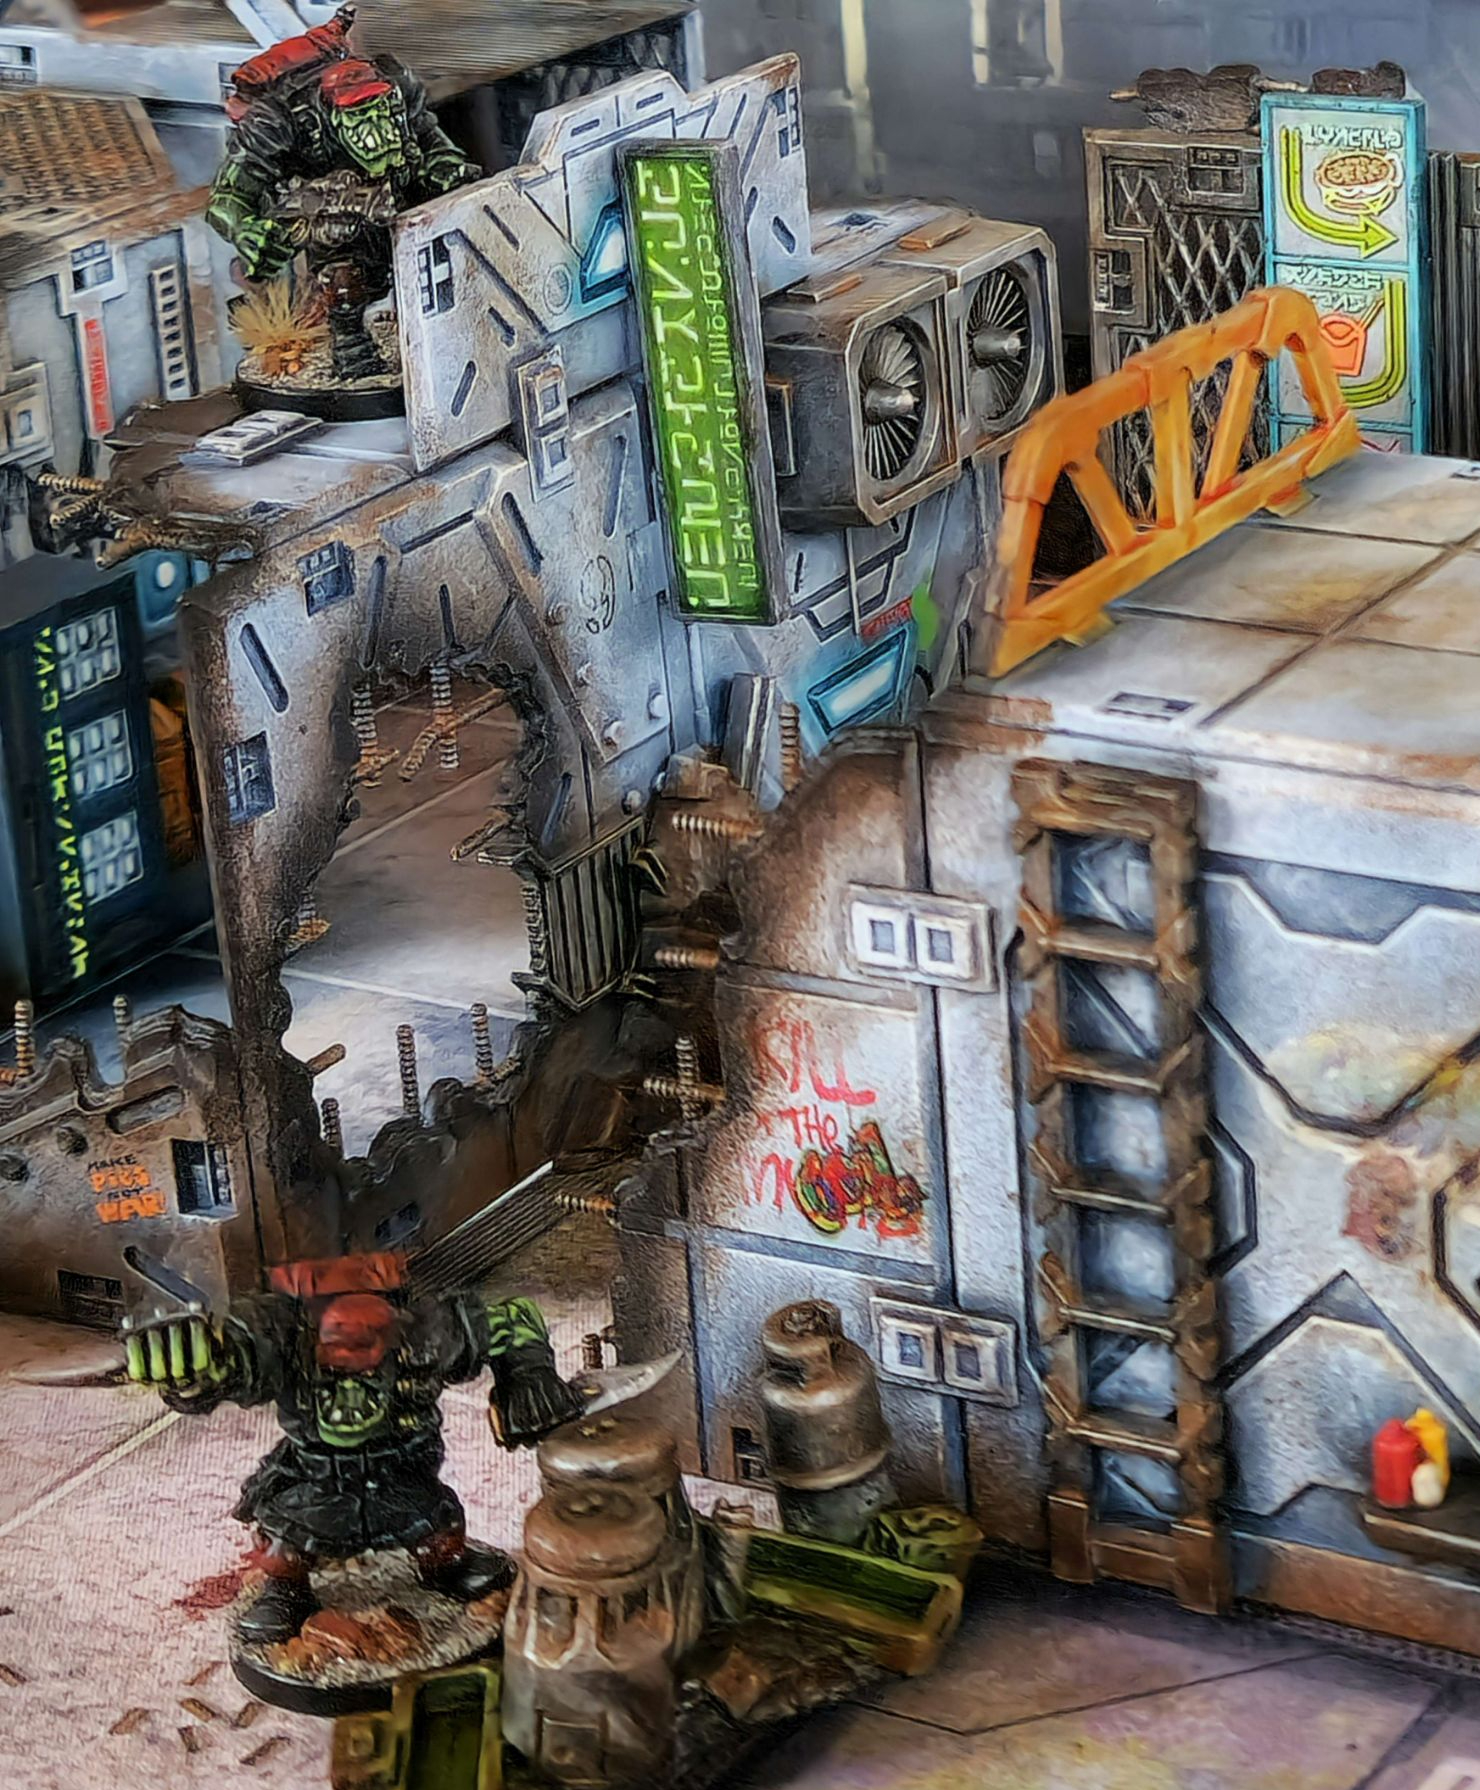
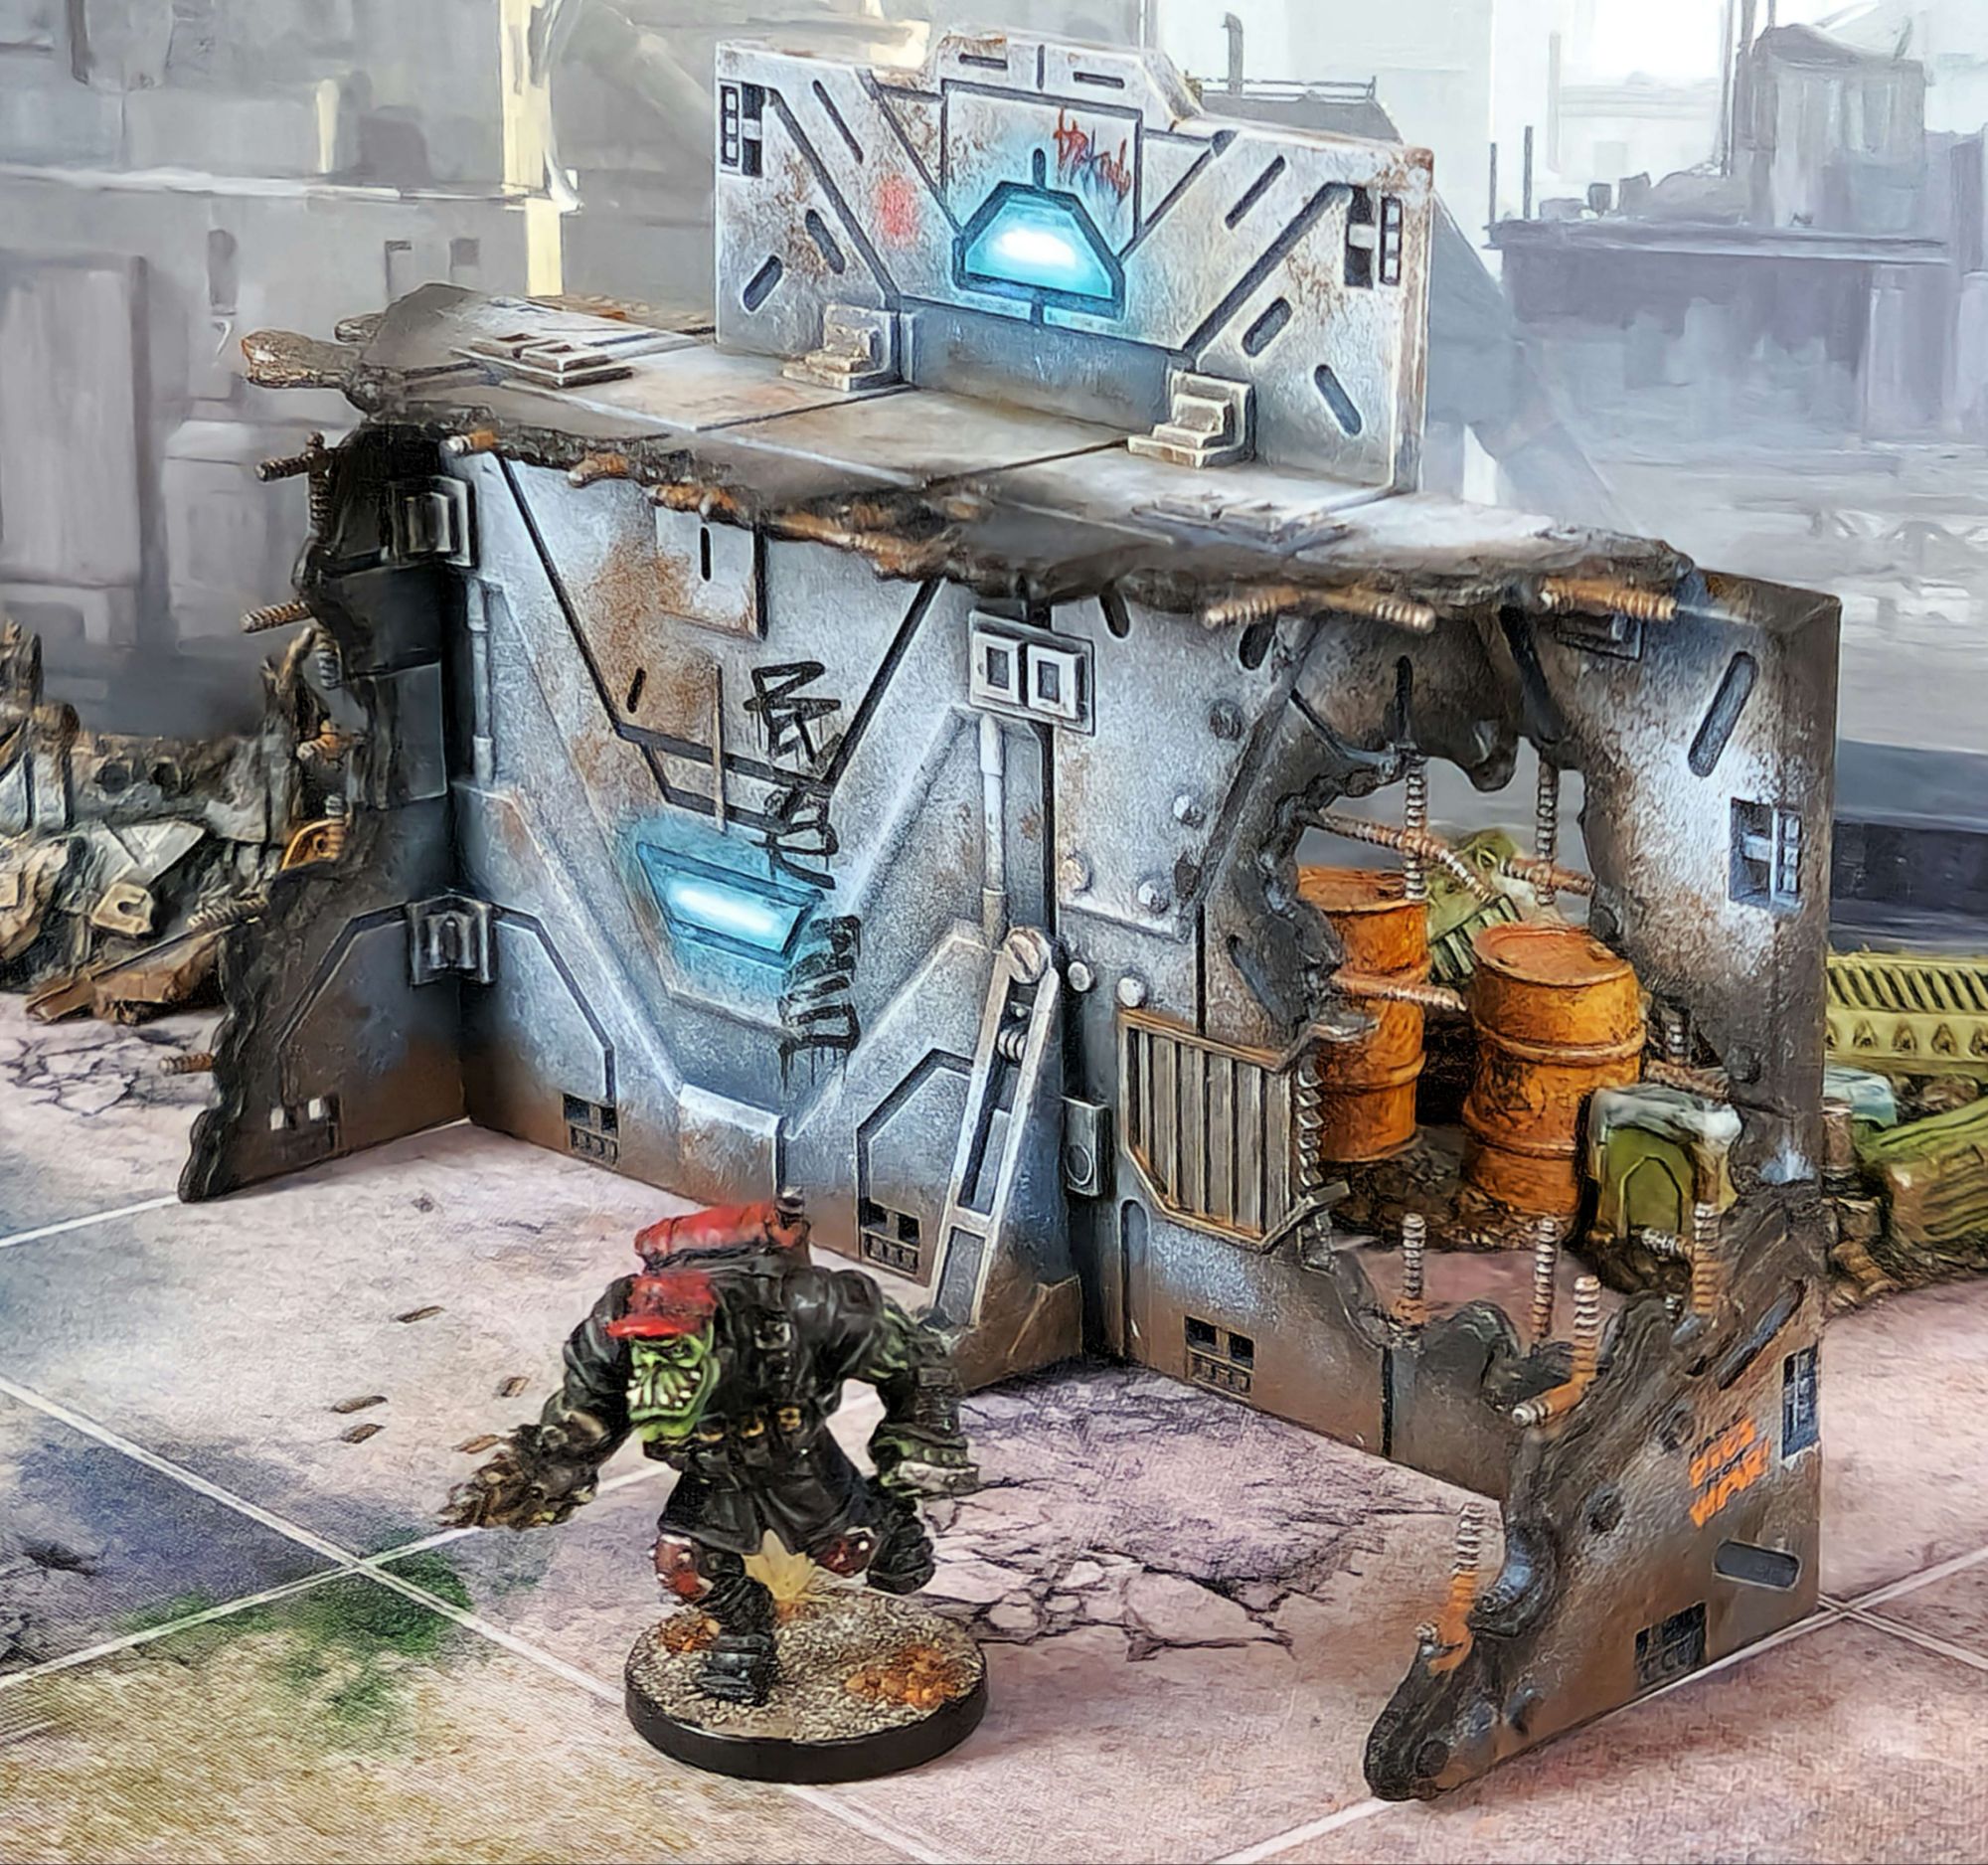
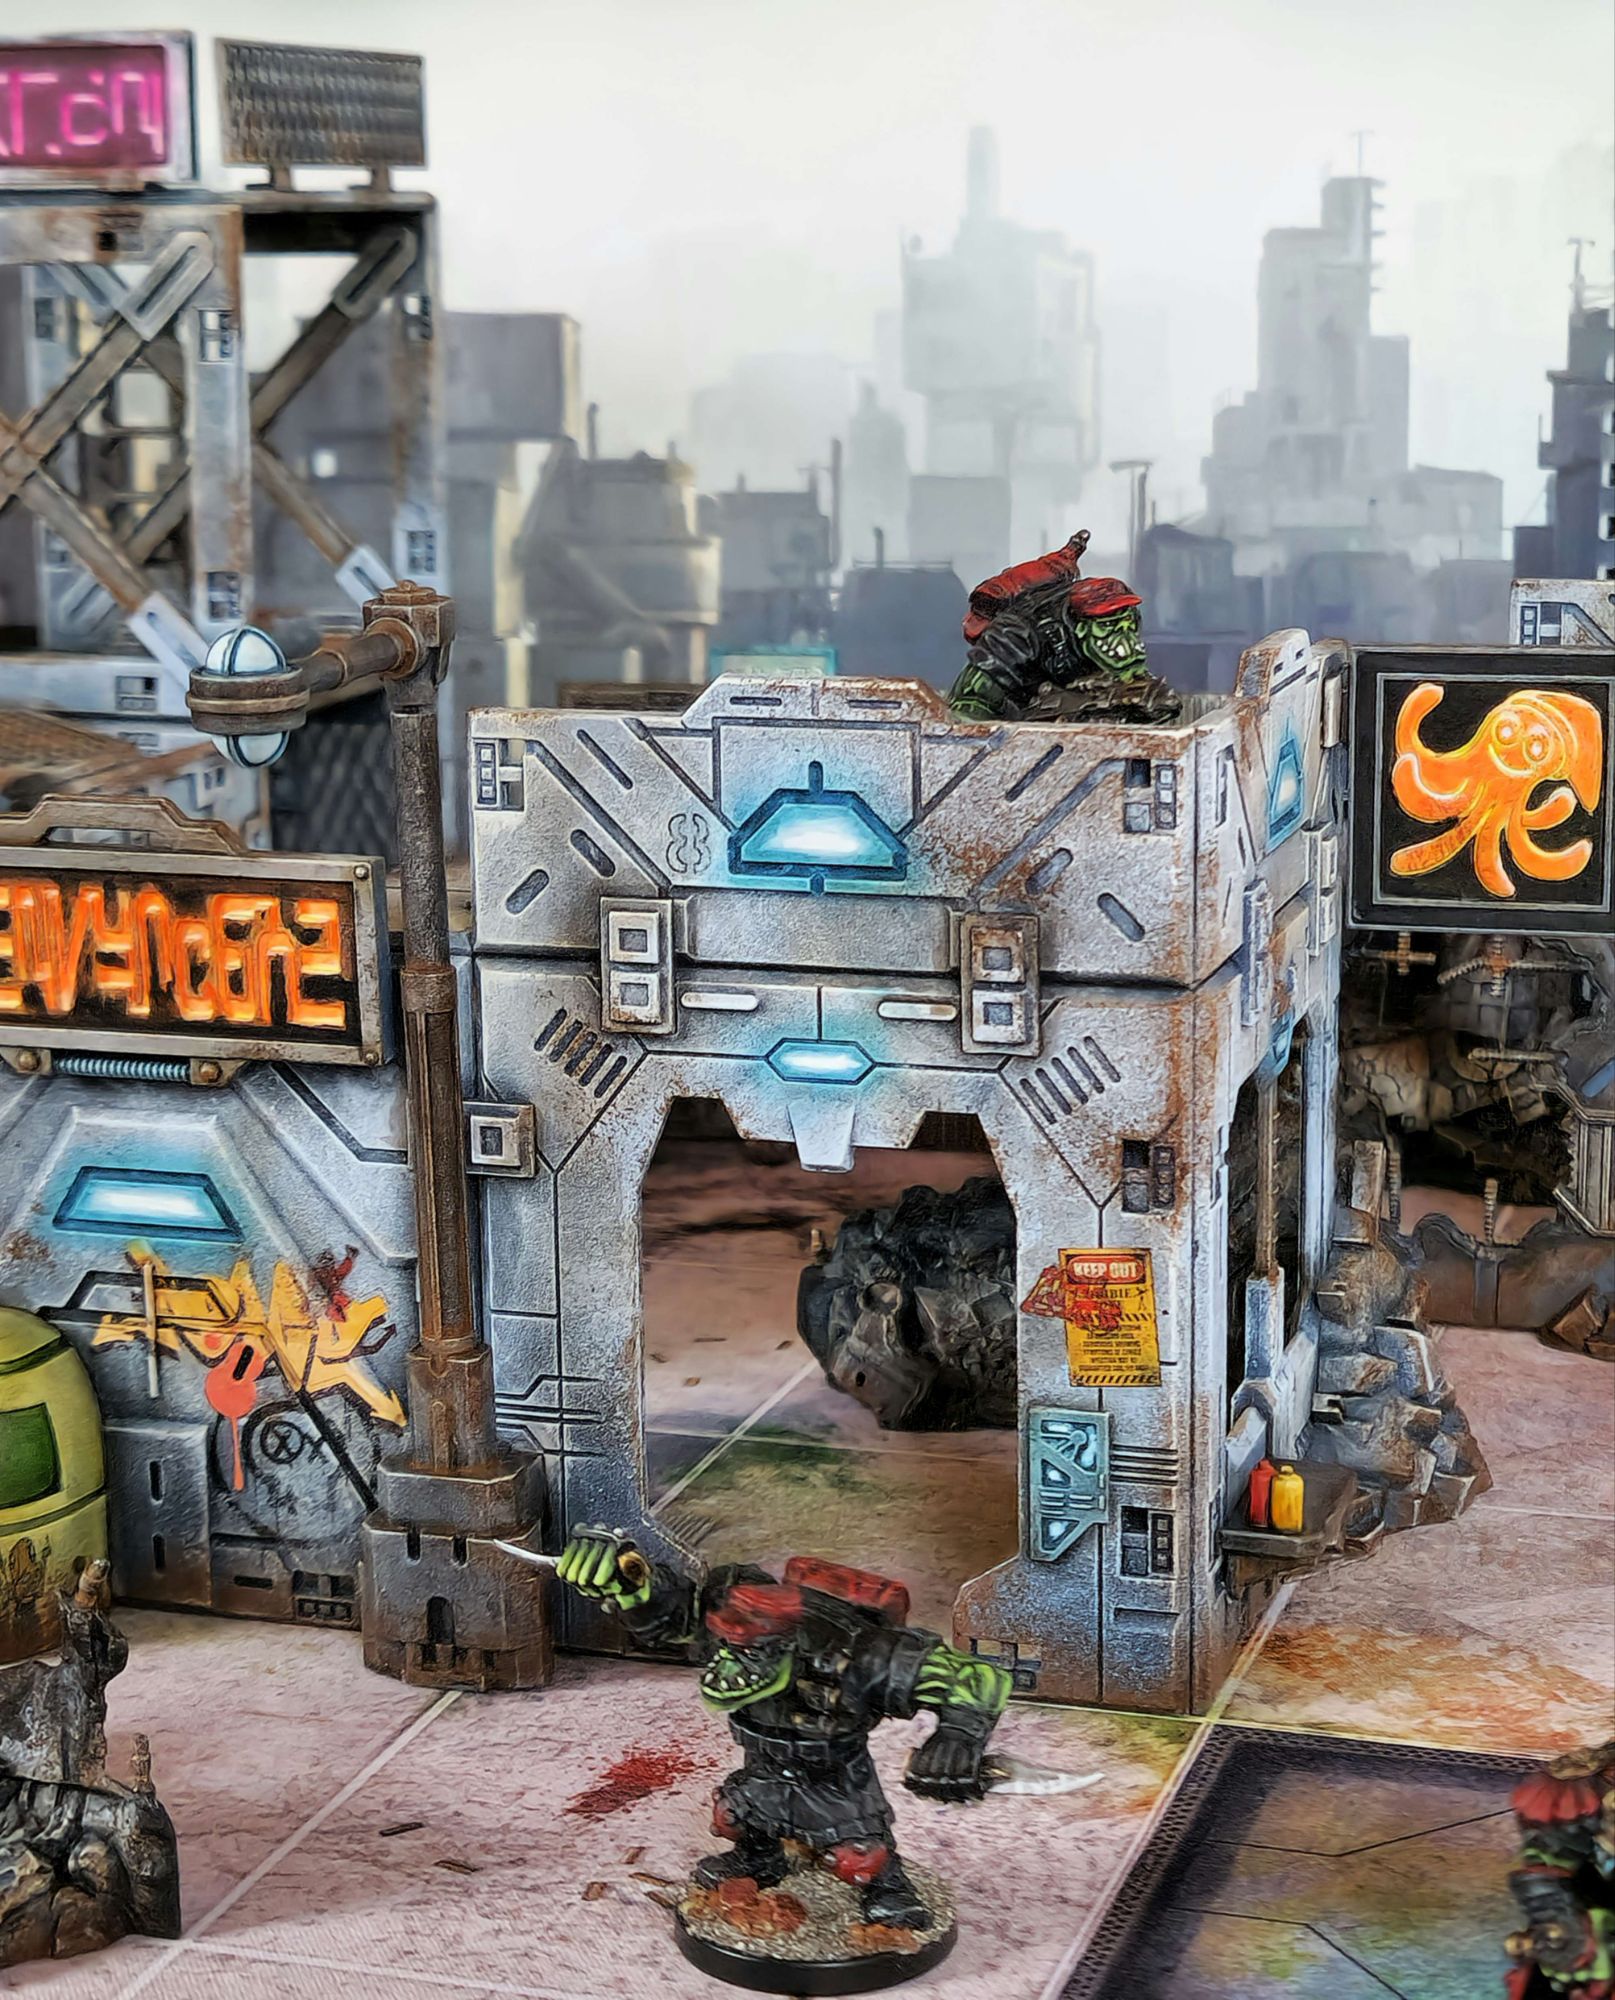
I prepped and painted some hi-tech/lowlife Deadzone 3rd edition terrain.
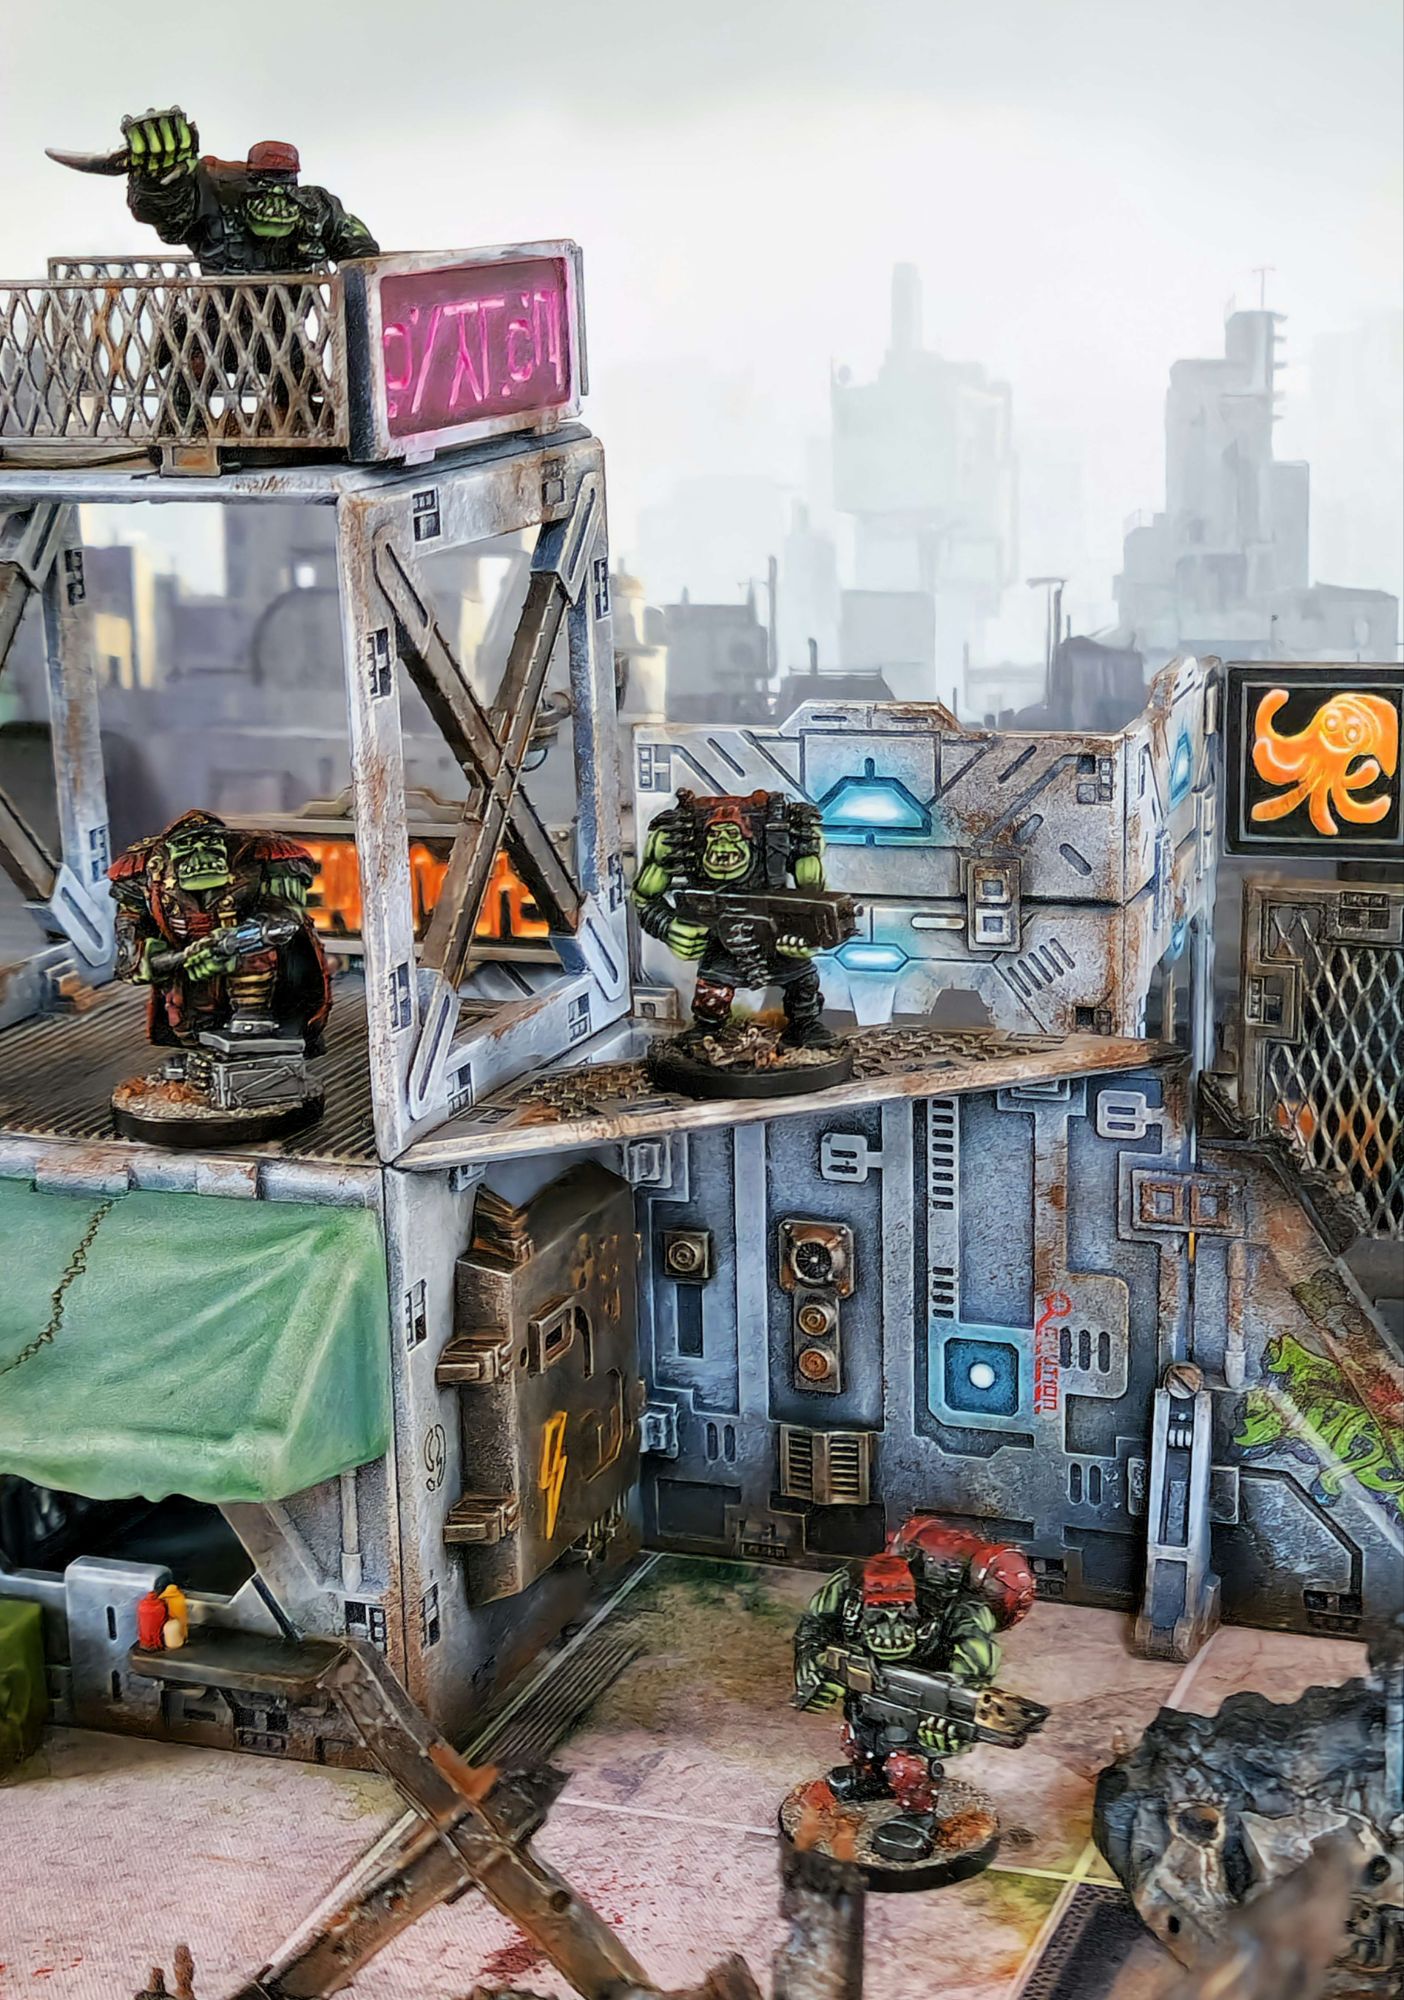
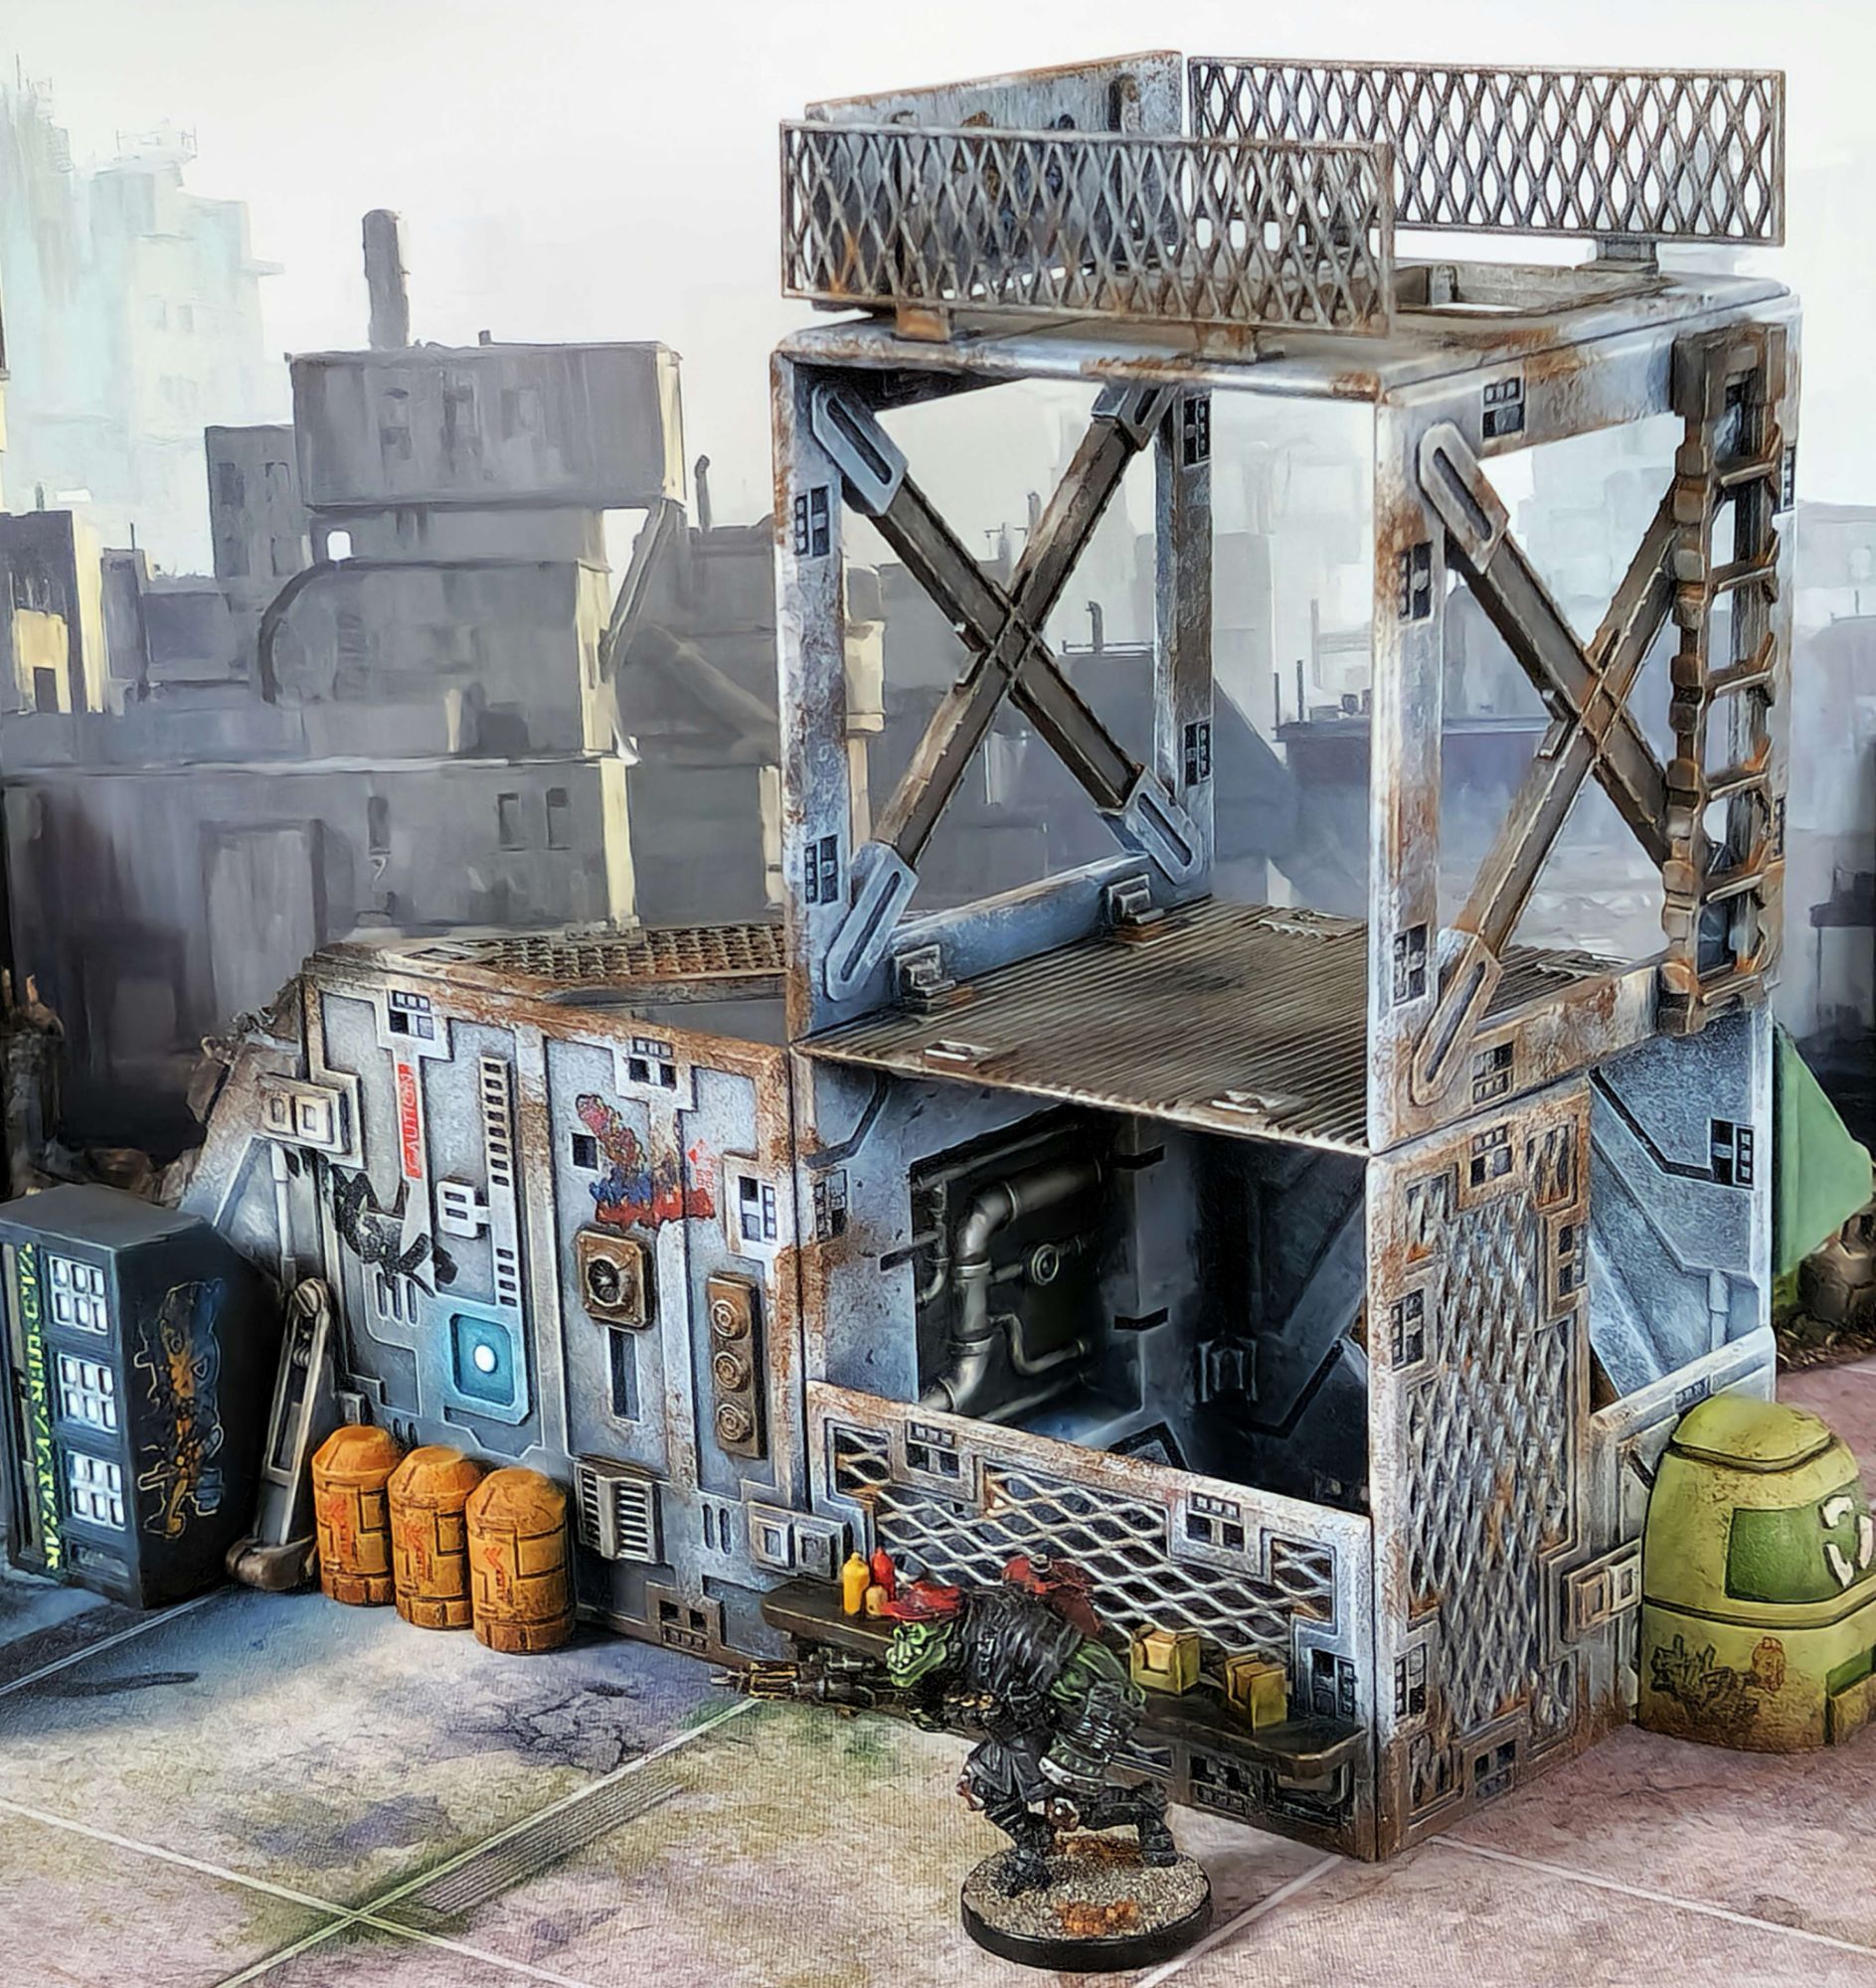
To keep things simple, I built the set to pretty closely match the layout on the box art. The Lego-like freedom with this Mantic Terrain Crate terrain can generate analysis paralysis, so sticking to the pre-determined “paintball terrain” set-up kept me from potentially stalling at the assembly stage.
I did add a handful of other bits from Terrain Crate kits to these six elements, but they were mainly because I either 1) wanted to keep another similar piece for some other plan, 2) I thought that adding a piece would make an element more sturdy or 3) I thought that swapping one piece for another might generate more gameplay options in a ruleset that encourages a lot of interaction with the intentionally cuboid terrain.
There are zero requirements to build the terrain to match that layout – the game rules and scenarios don’t require strictly definied set ups – but doing it this way minimised cognitive load for a while. I’ll get more adventurous with the rest of my DZ terrain.

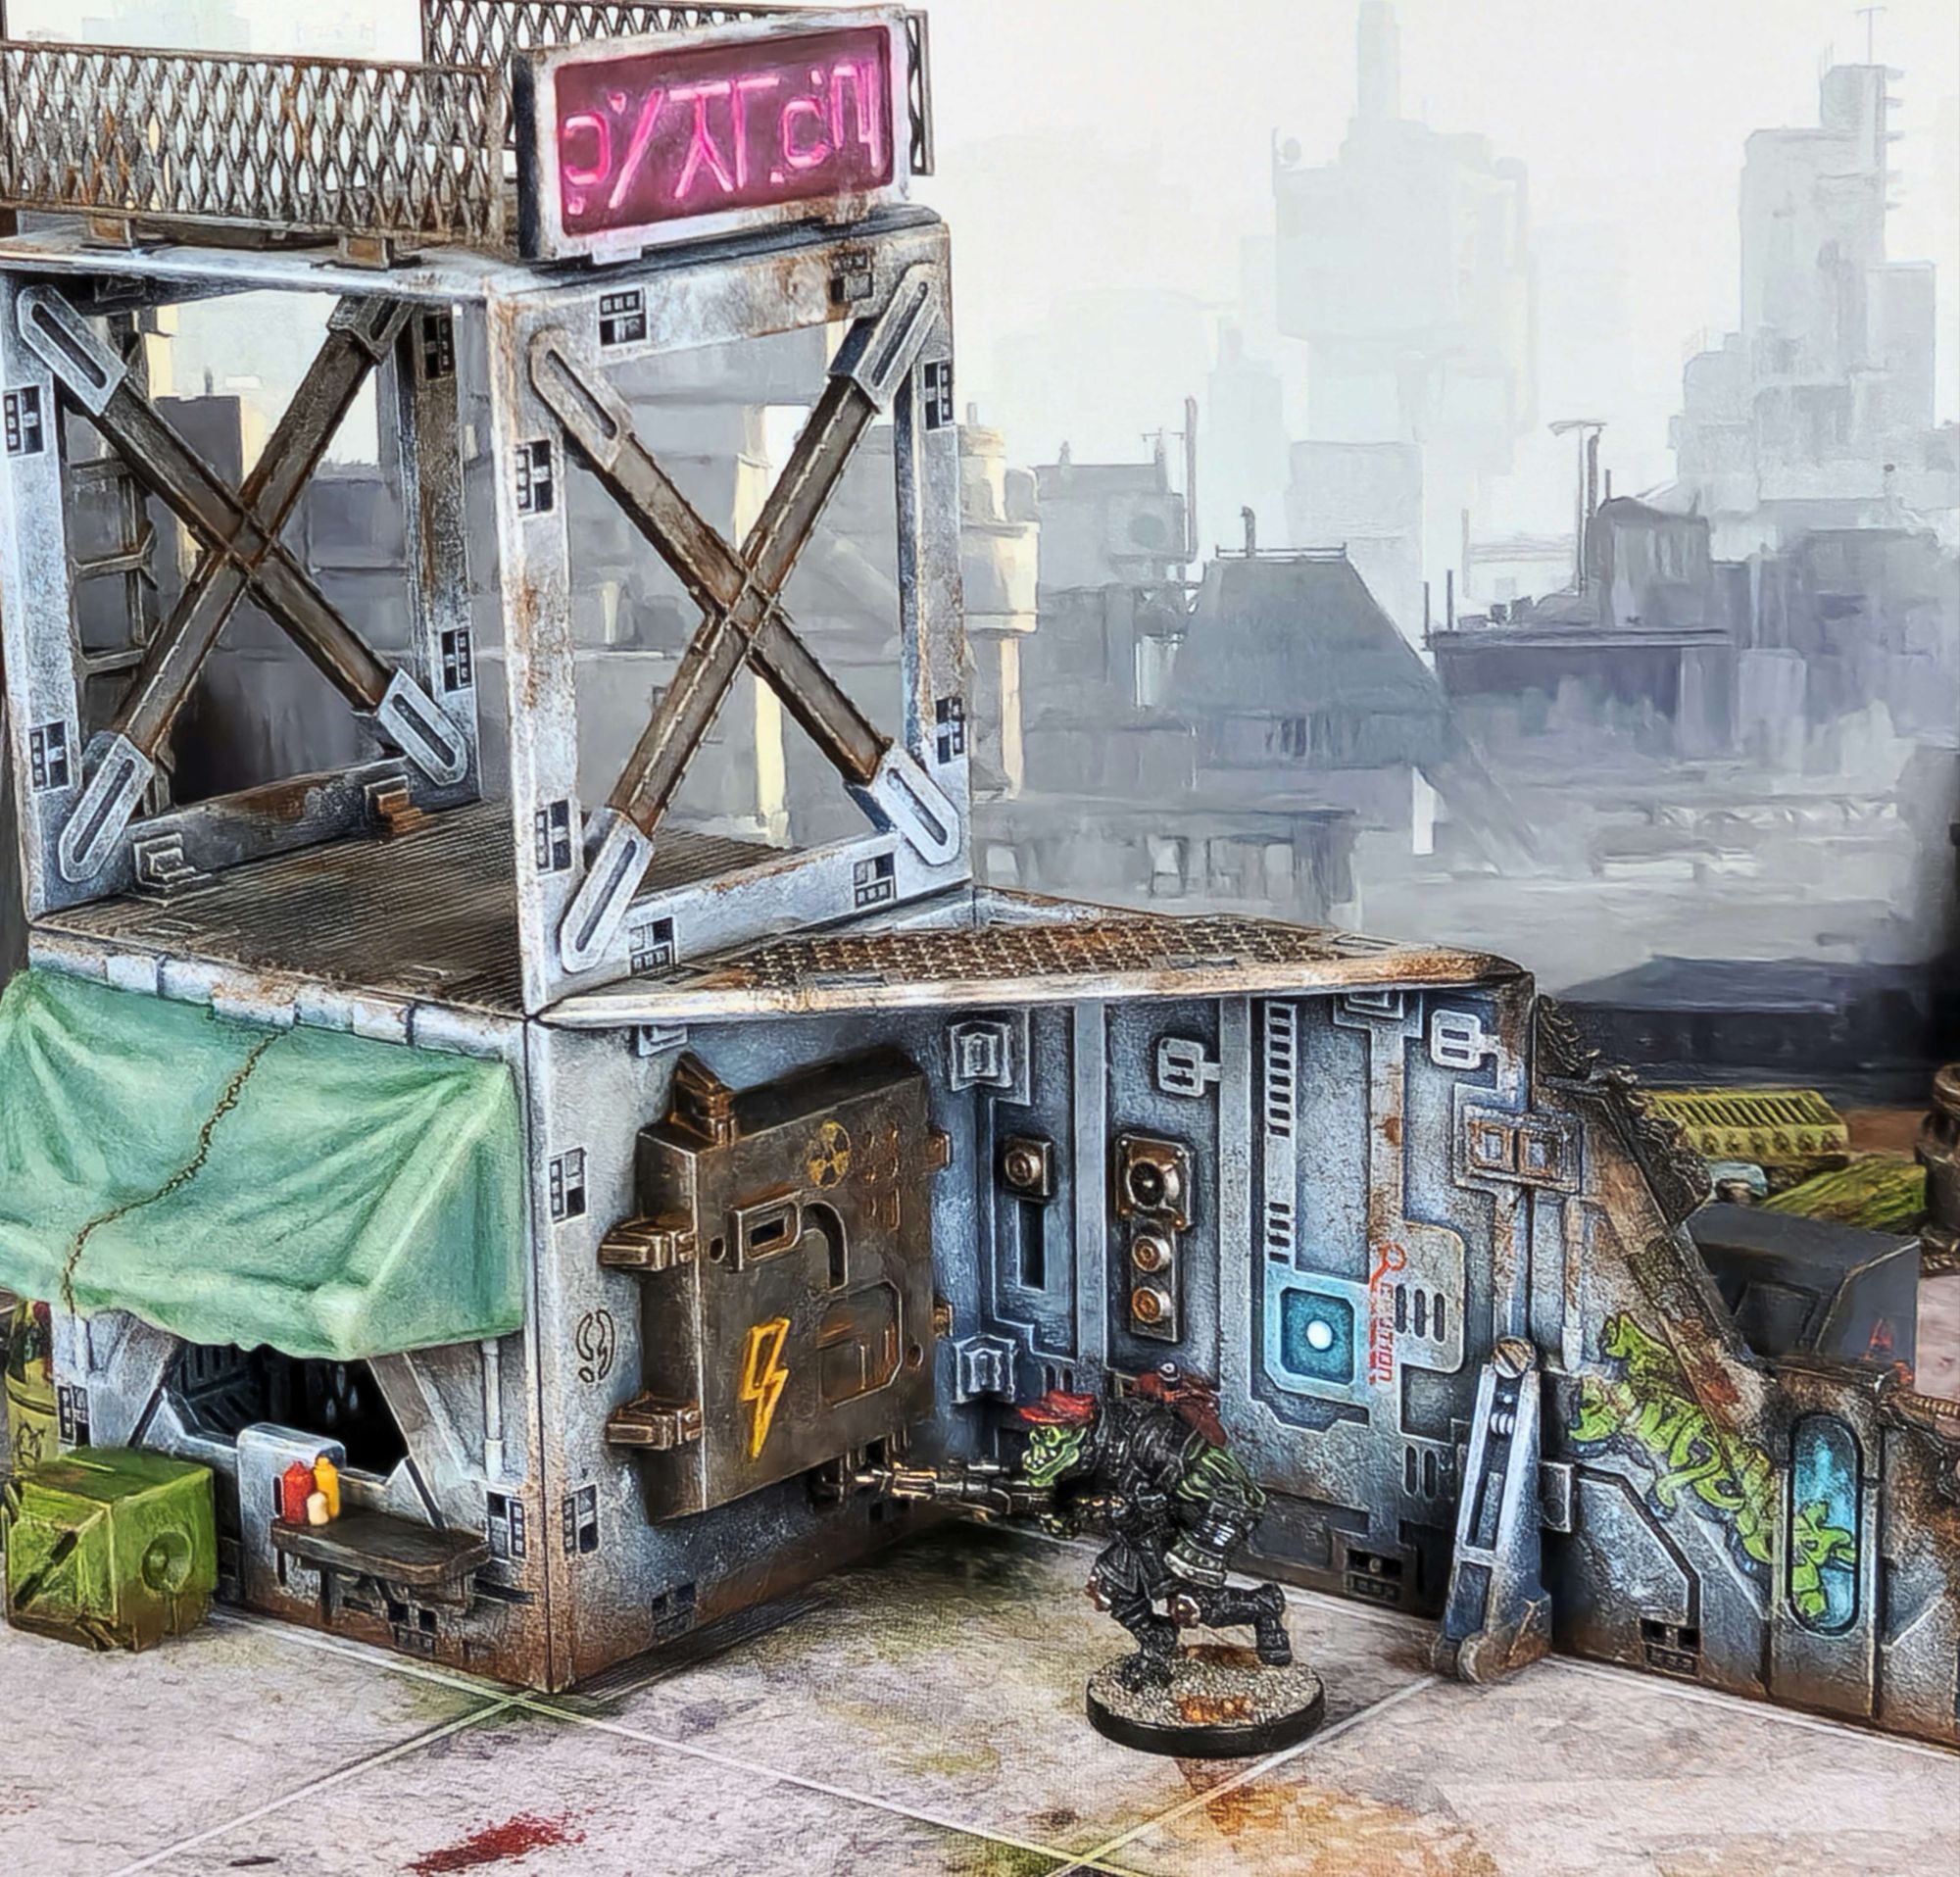
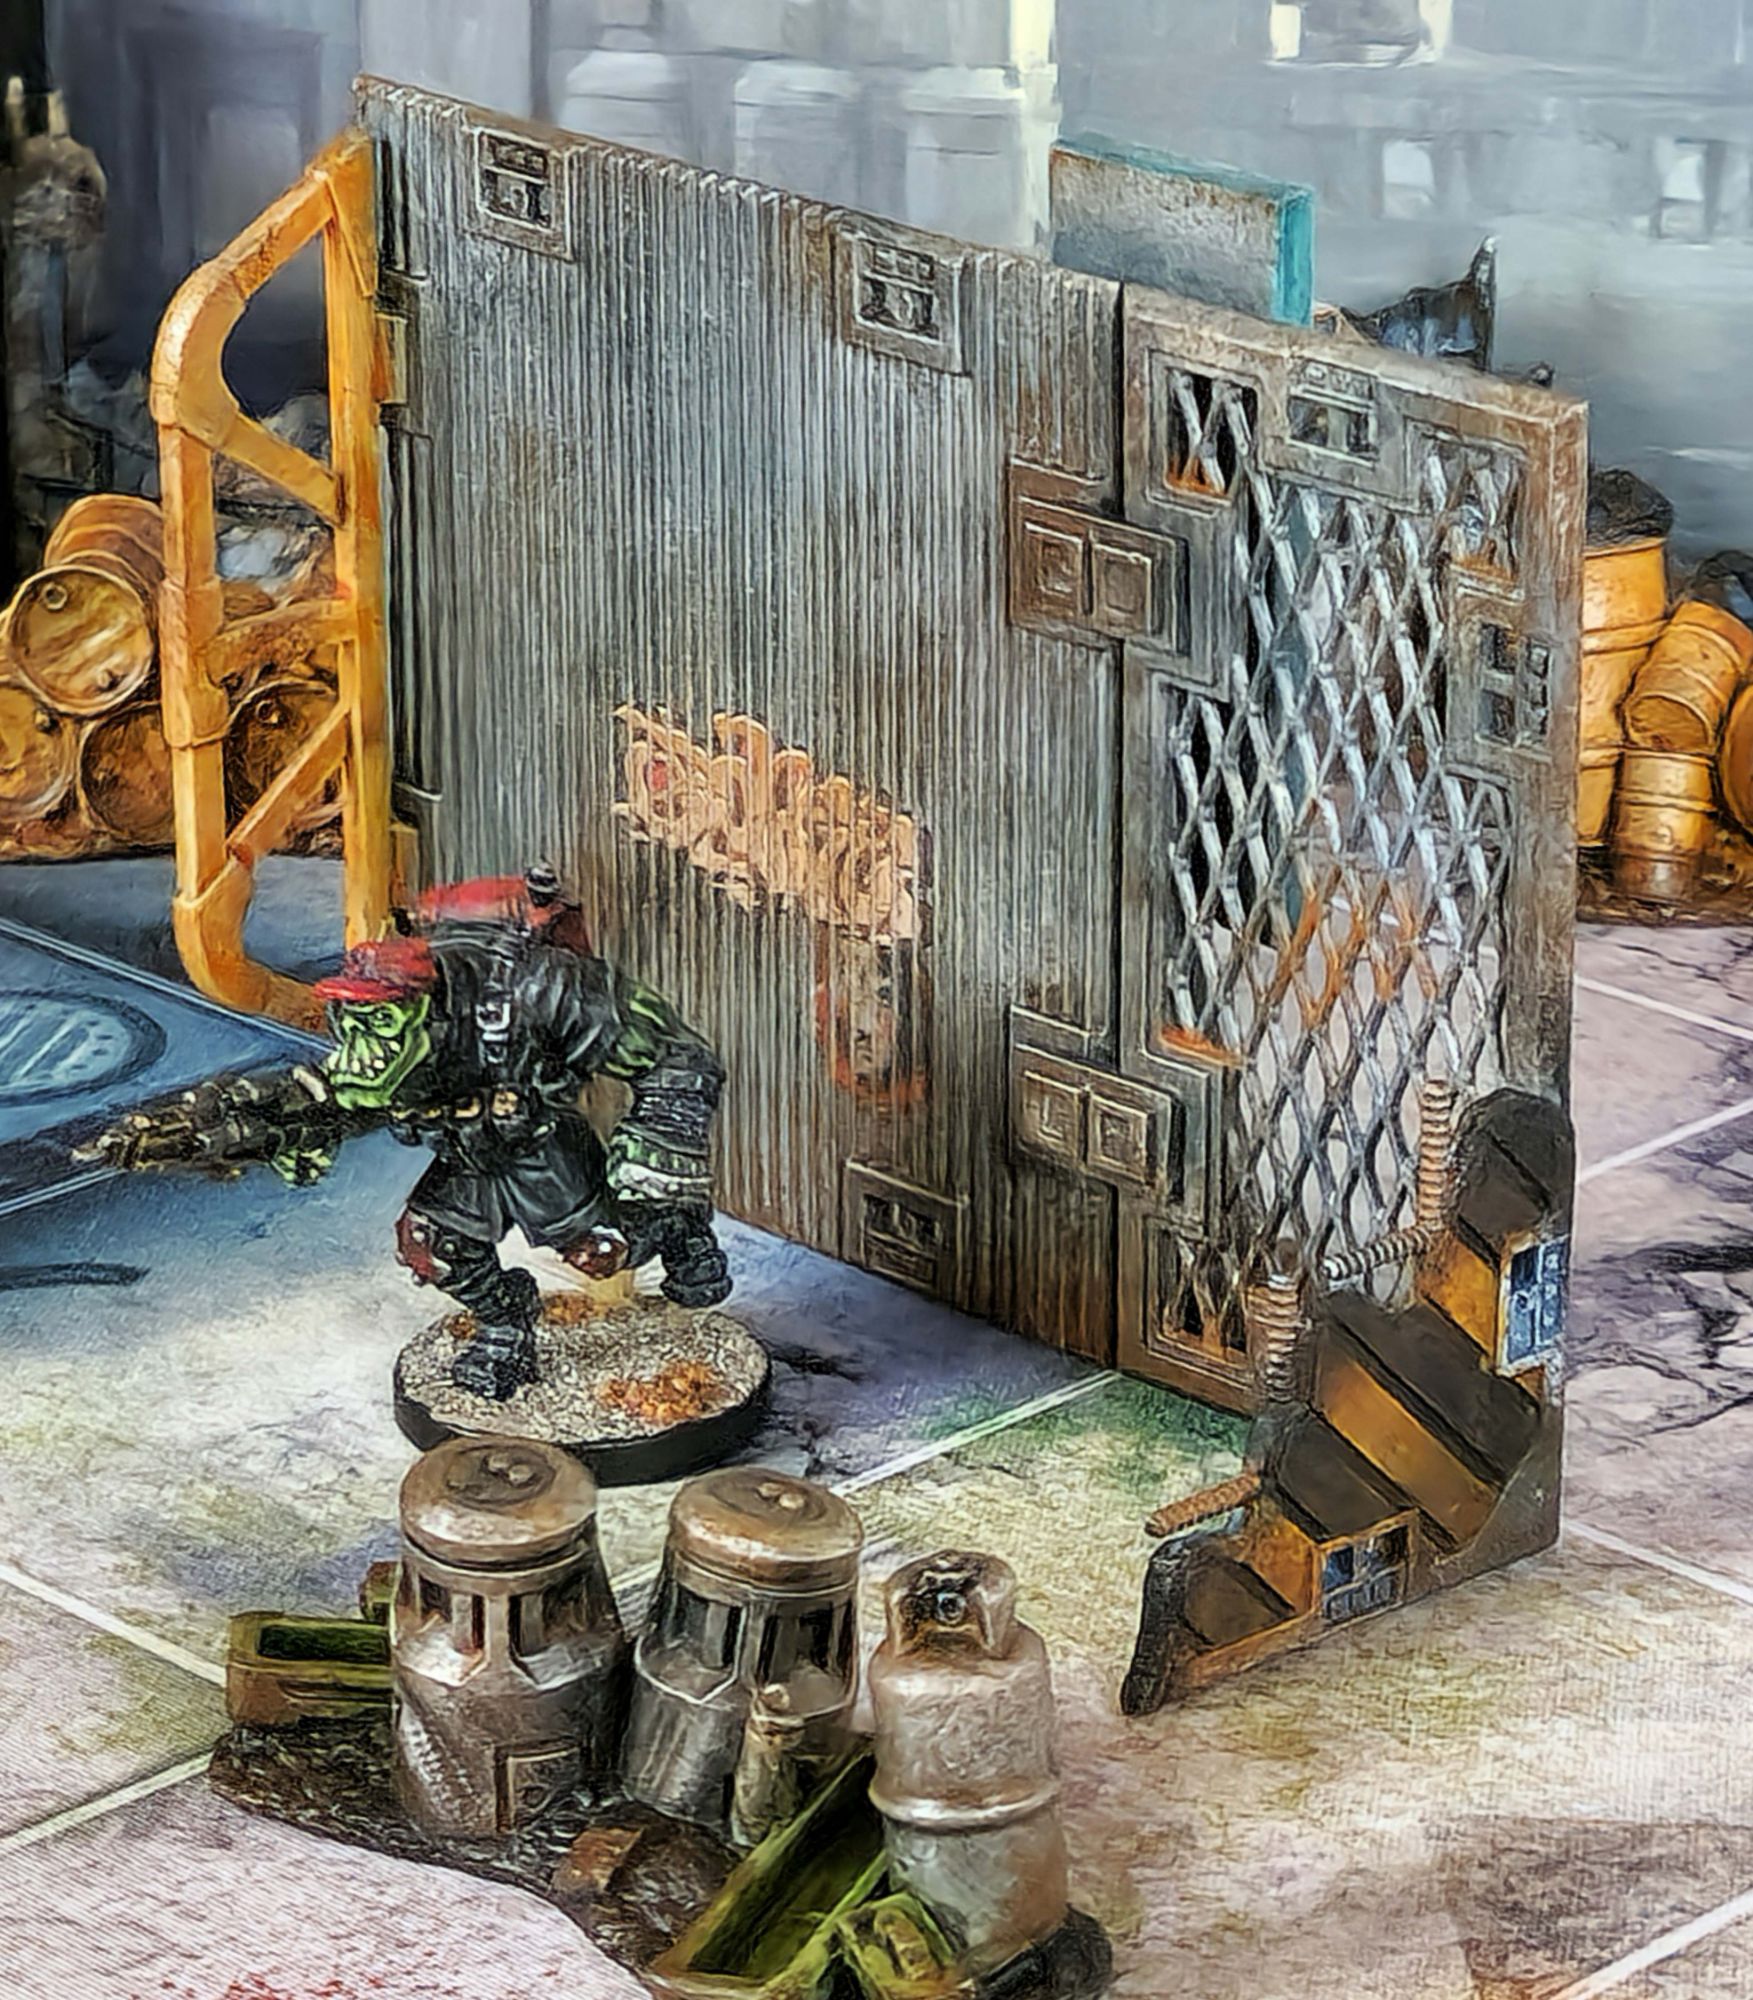
Adding the PVC Deadzone Ruins and Sci-Fi Scatter Pack elements that I got in a recent Kickstarter to the process (image above) made sense. The design of the walls in those PVC sets is identical to that of the rigid HIPS plastic walls used in Deadzone and most of Mantic’s other sci-fi games, so it visually fits perfectly.
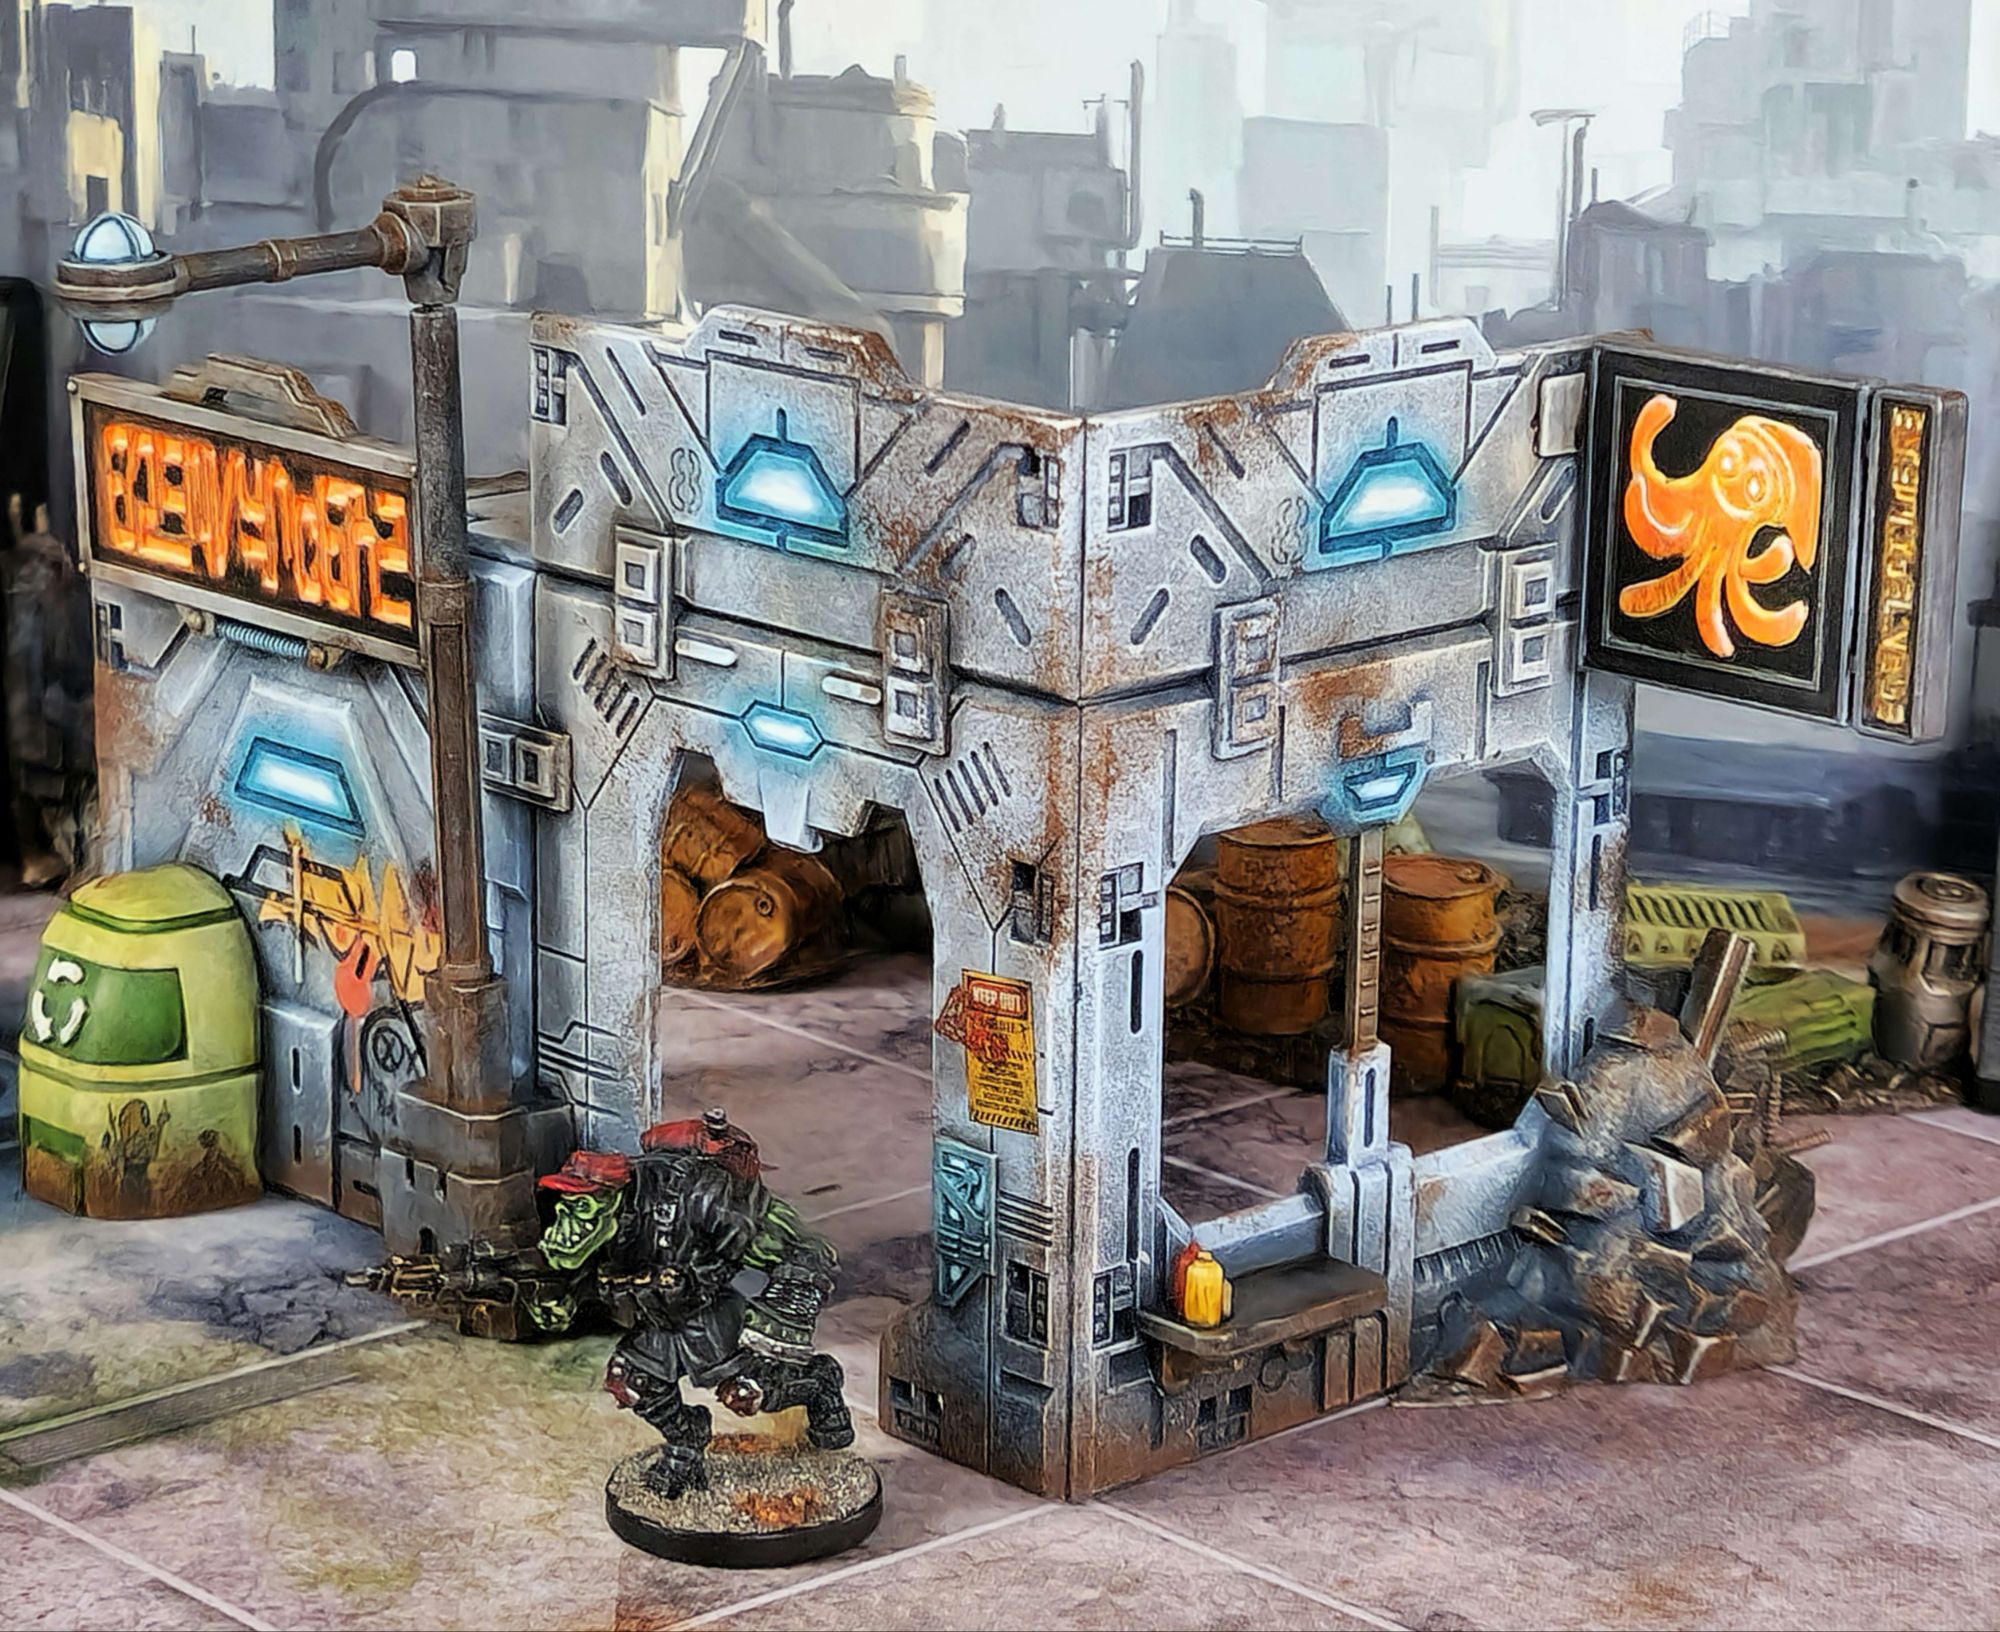
Unfortunately I missed a few finishing touches on the PVC scatter that I didnt see until after taking these photos (such as the deliniation between the yellow crates and the base above). I have finished them all off since.
Painting was all about simple techniques. There is a fair bit of work involved, but most of it is simple stuff that can be done with very little use of valuable brain capacity:
- Spray black
- Spray a mid grey blue from 45° approximately. Its not a zenithal really, but black is left in all of the recesses.
- Spray a light grey from 45° approximately. This stage is closer than the former step to what the internet tends to mean when it means “zenithal” spraying.
- Roughly sponge on a light grey blue to blend areas together and give visual texture. Doing this twice, with less paint gives a superior result to doing it once with more paint. It doesnt take very long and really is not very demanding.
- Quickly and lightly drybrush everything with white or off-white.
- Paint Contrast paints or Speed Paints or whatever you fancy on some details. How much you decide to embellish is entirely up to you.
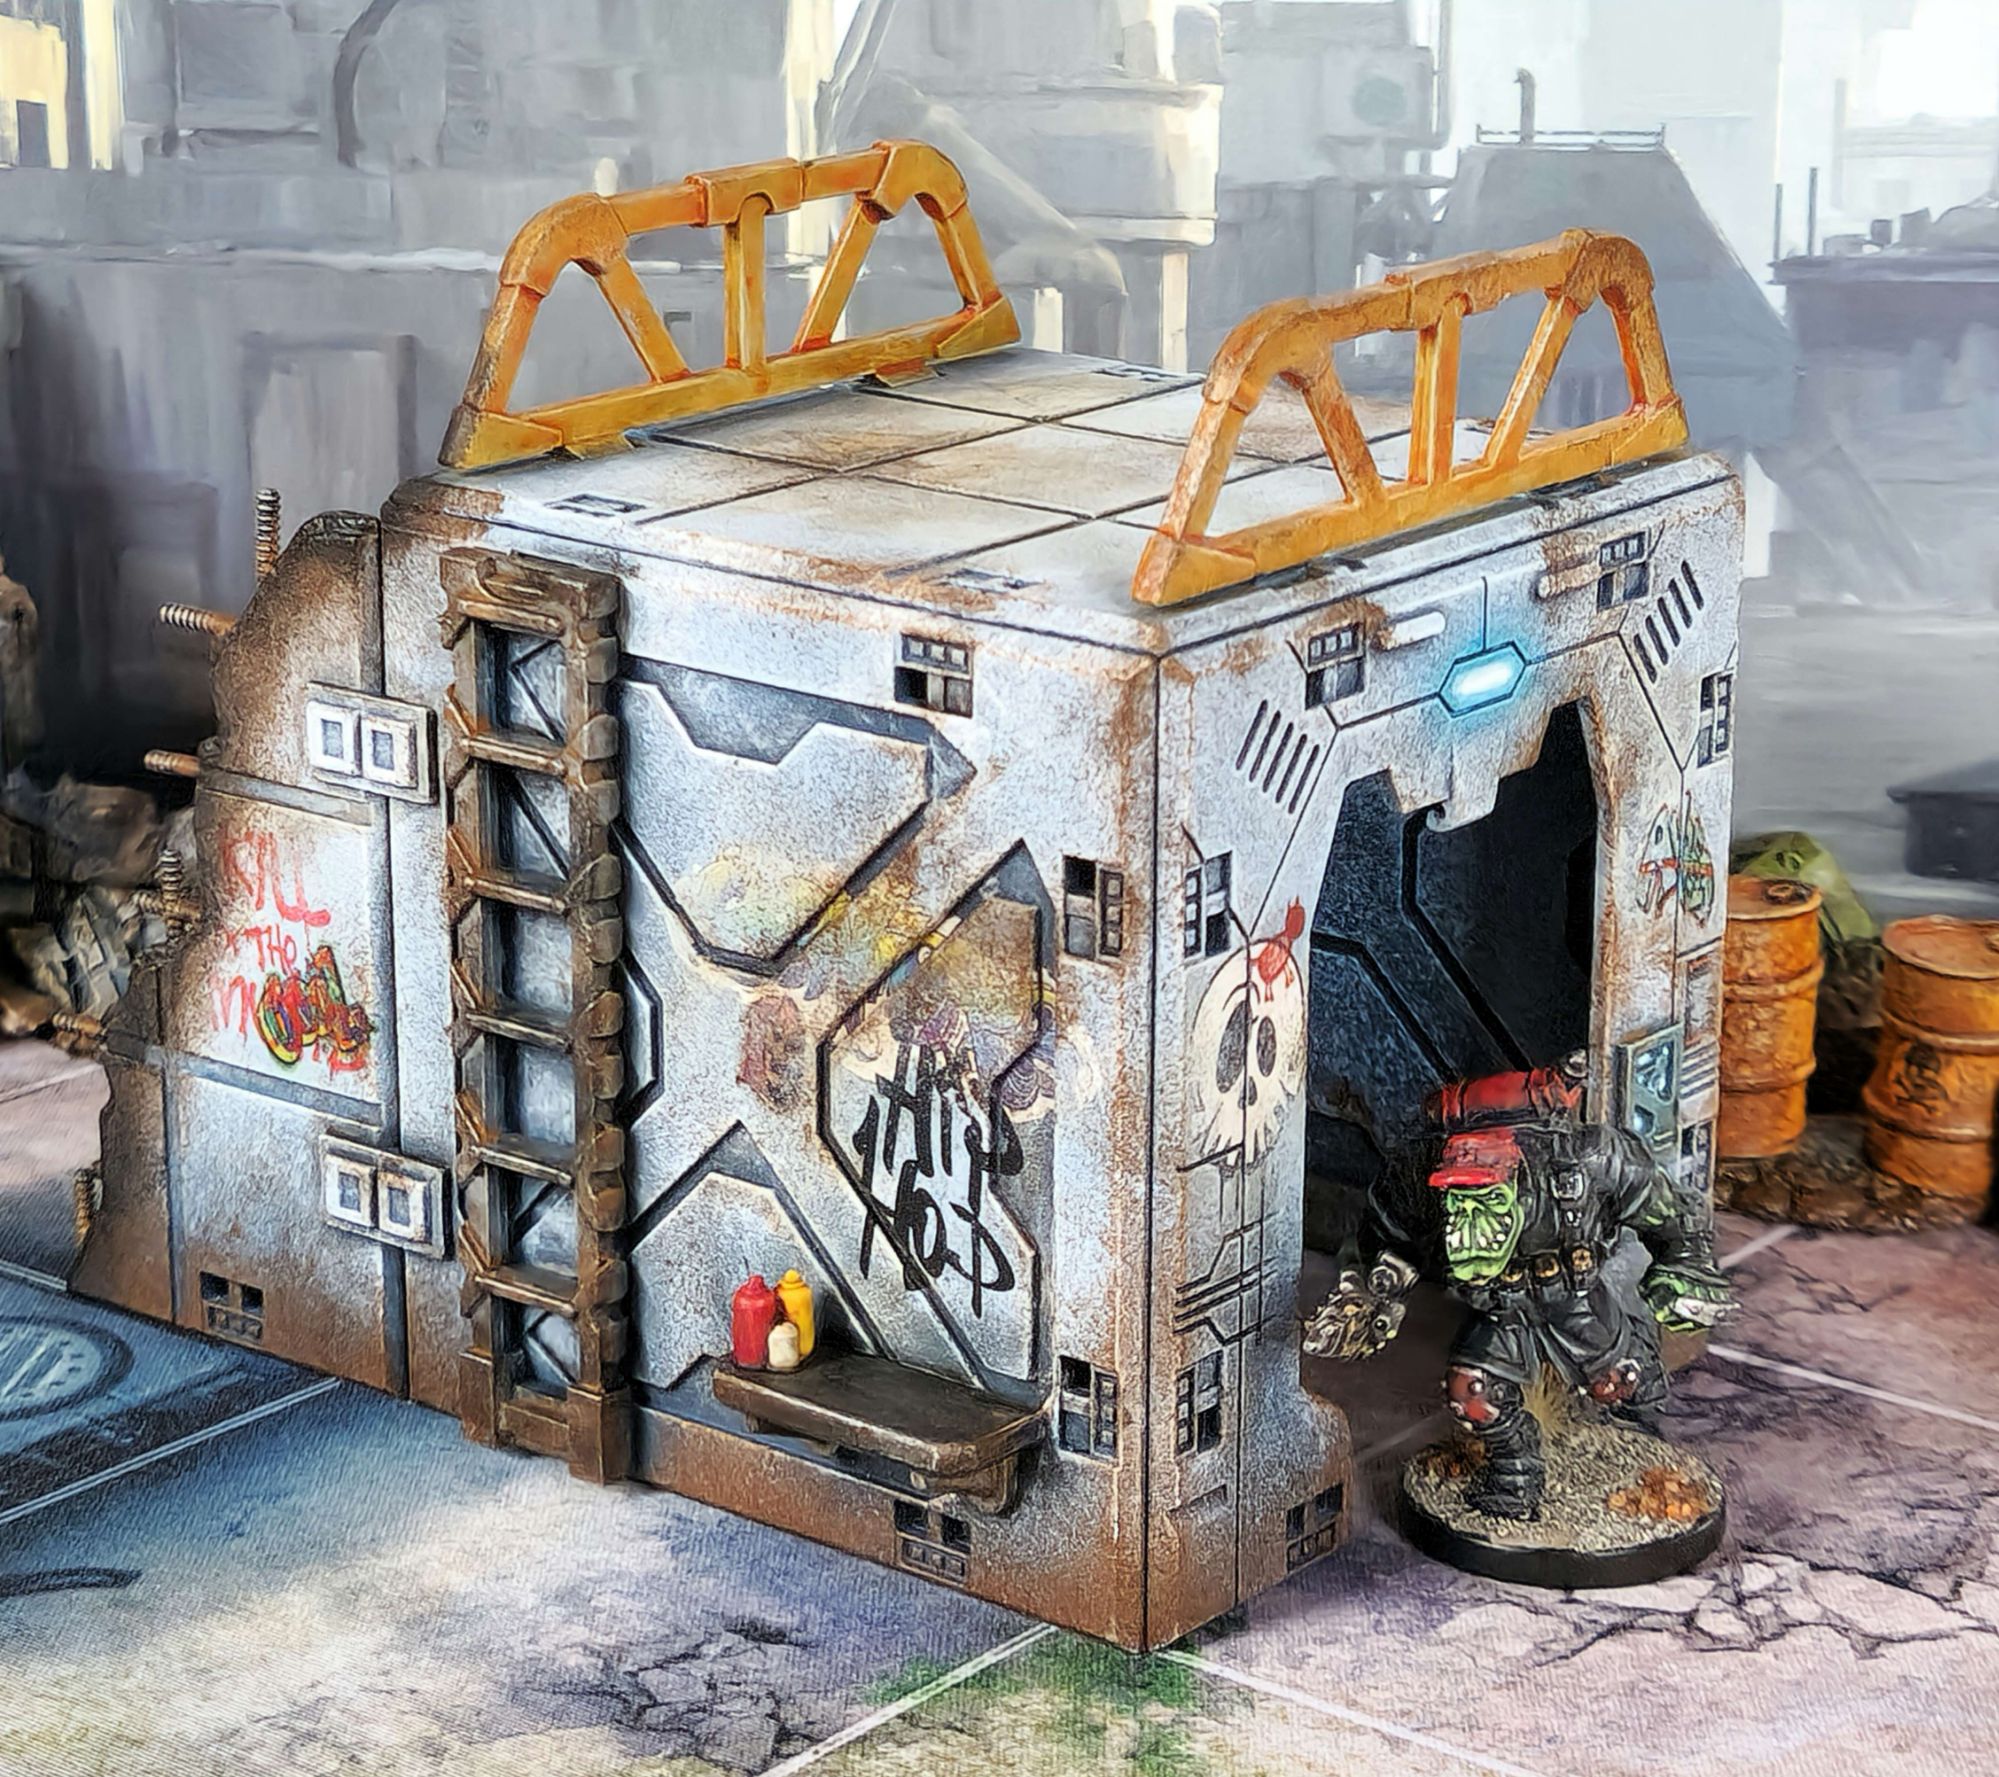
- Apply as many transfers as you can manage without losing your mind. Grafitti transfers look better when they are layered on top of each other, which means this will likely take a few sessions with time in between, so prepare for this part of the process to be the most tedious step.
- When the transfers are sealed, sponge and /or drybrush over them with the colour underneath to visually integrate them into the terrain.
- Drybrush appropriate colours over whatever detailed elements you think warrant it.
- Sponge browns and blacks on to whatever edges and surfaces you think will benefit from it.
- Uses washes, thinned paint of “Contrast”/Speedpaint etc type paints to deliniate different surfaces here and there, if things have become too indistinct.
- Pick out anything that you think had become too dark from weathering with a light colour.


I got the set shown about 90% finished before I spent a weekend playing Deadzone third edition with three buddies. I took some photos of those games, but I plan to make a separate post for those.
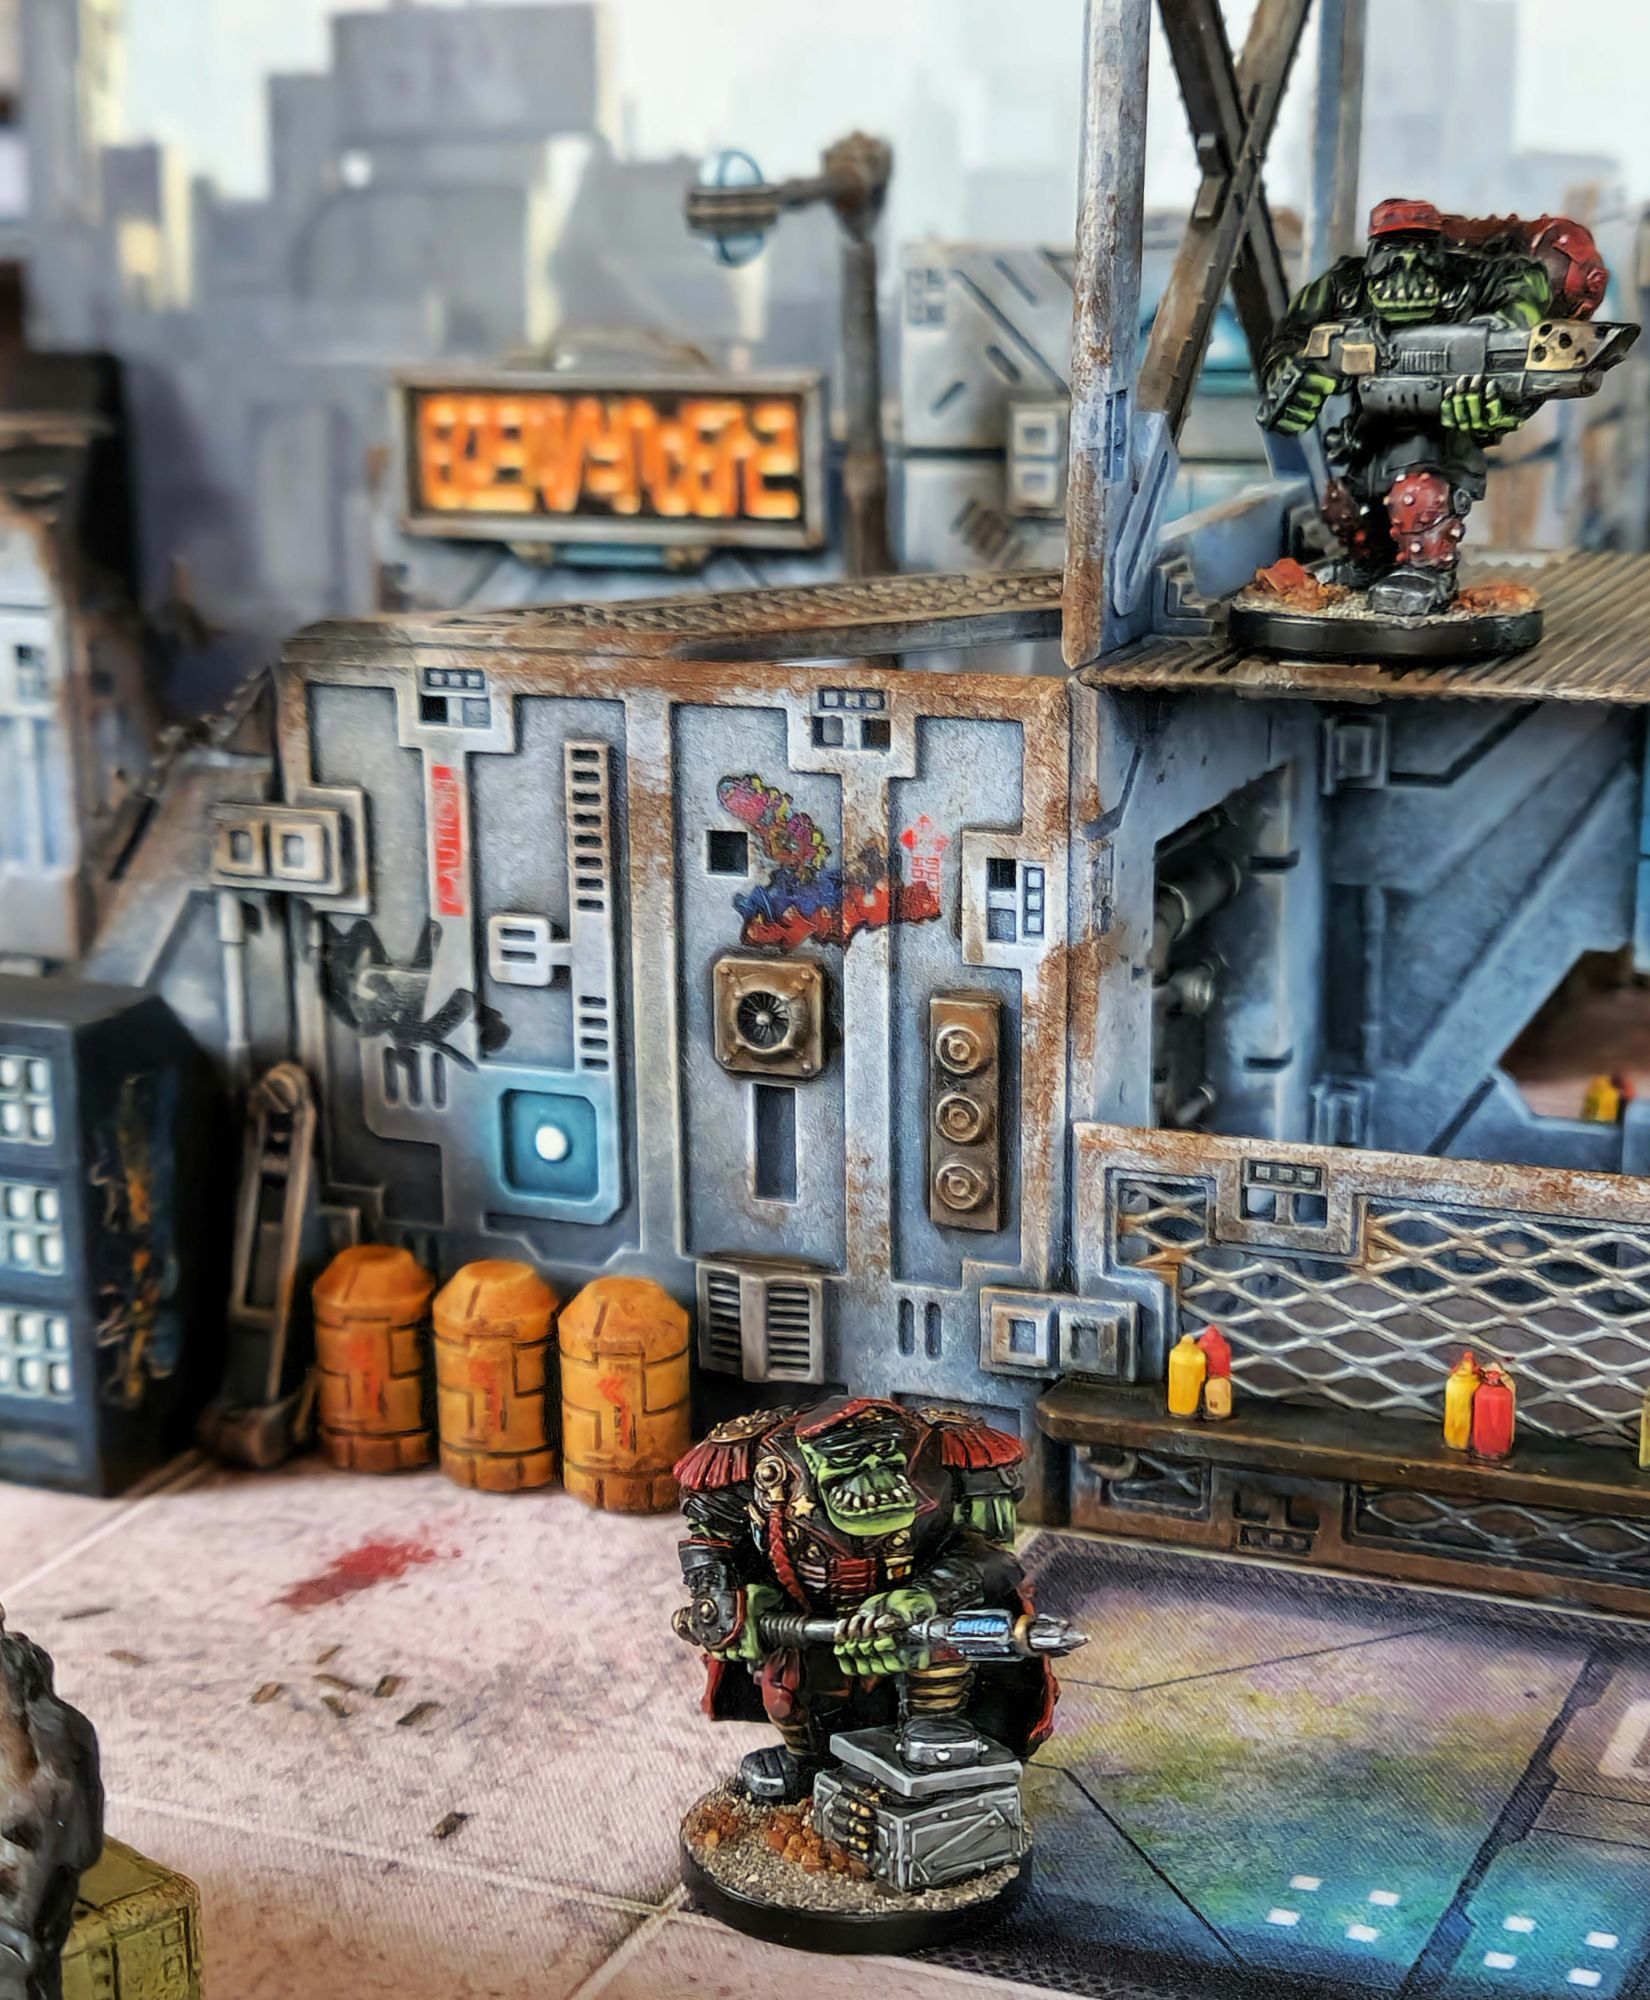
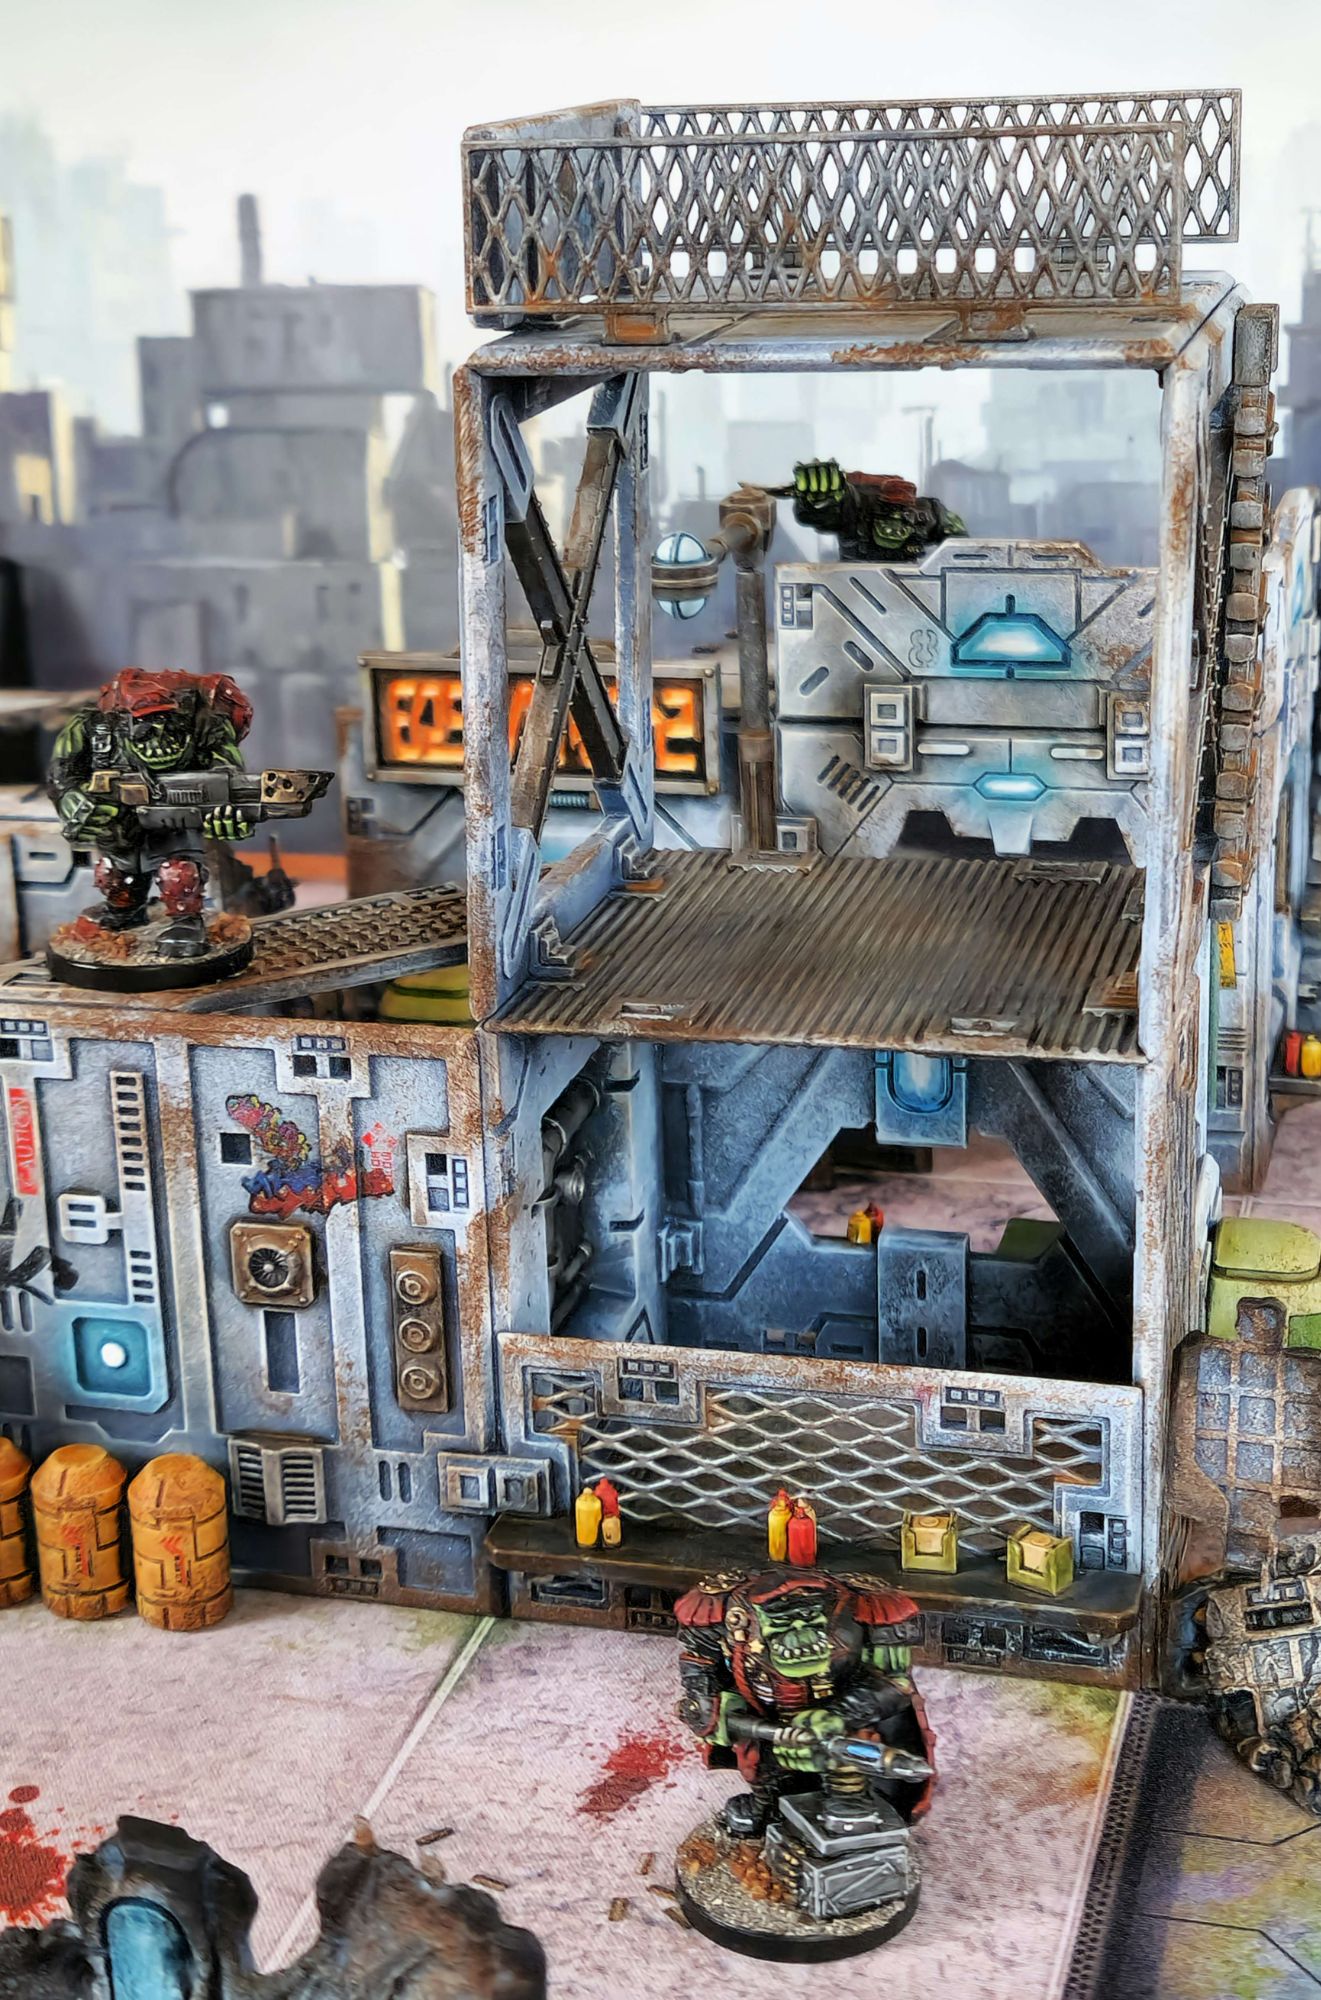
The now ubiquitous Jon Hodgson Backdrop Books were used in these photos. Highly recommended.
A big shoutout to Mikko at dawnofthelead.com for printing me two simple shapes to hold the backdrop book in place: now indispensible items that I never knew that I needed, thanks Mikko!
Thanks for looking!
Filed under: After Action Report, Games in Progress, Miniatures, Terrain | Tagged: Deadzone, Mantic, Marauders, Orks, Sci-fi, science-fiction, Skirmish, Warpath |

Deadzone is a title I’ve always been interested in giving a chance. I like what I read of the rules and the terrain is fantastic. Yours is looking incredible.
I just haven’t been able to get into the factions. Maybe if I used Necromunda gangs for the factions I might be a little more enticed.
But do I need another system atm… ha!
Great work here!
LikeLiked by 1 person
Deadzone is mechanically tight. I strongly suspect that the GW Kill Team creators have been using the rules to inspire their output. The game is fun and intuitive.
As for the factions, I suppose that’s in the eye of the beholder really. Super human soldiers, human soldiers, evil corporation bio-weapons, remote control robotic proxy warriors, more orcs in SPAAACE etc. Those are all concepts that I can happily engage with, but YMMV.
Necromunda gangs as factions might work, but it would mean a lot of work.
Nobody reading this likely *needs* a new ruleset or scale, but I’m always looking for that sweet spot in the hobby Venn diagram, and Deadzone hits the spot like few others do to date.
Thanks for the feedback Mr White!
LikeLike
Wow, really cool
LikeLiked by 1 person
Thanks imperialrebelork!
LikeLiked by 1 person
Lovely stuff mate – not looked at Deadzone before, is it worth a butchers?
LikeLiked by 1 person
Thanks Alex!
I definitely think that DZ is worth peoples tine, but based on your feelings towards the relative complexity of the various ****grave games, I think that you might find DZ a little shallow.
Maybe I’m wrong, maybe you would love it 😀
It fits what I want from toy soldier gaming nicely, including the part where it motivates gamer buddies to get involved, which is also critical.
LikeLiked by 1 person
I’ll take a look – I’m getting shallower by the day mate 😂
LikeLiked by 1 person
Looks great mate – well done.
LikeLiked by 1 person
Thanks Warburton!
I think that I will be able to replicate it without *too* much hassle. There are many steps, but none are individually very difficult, if you get me.
LikeLiked by 1 person
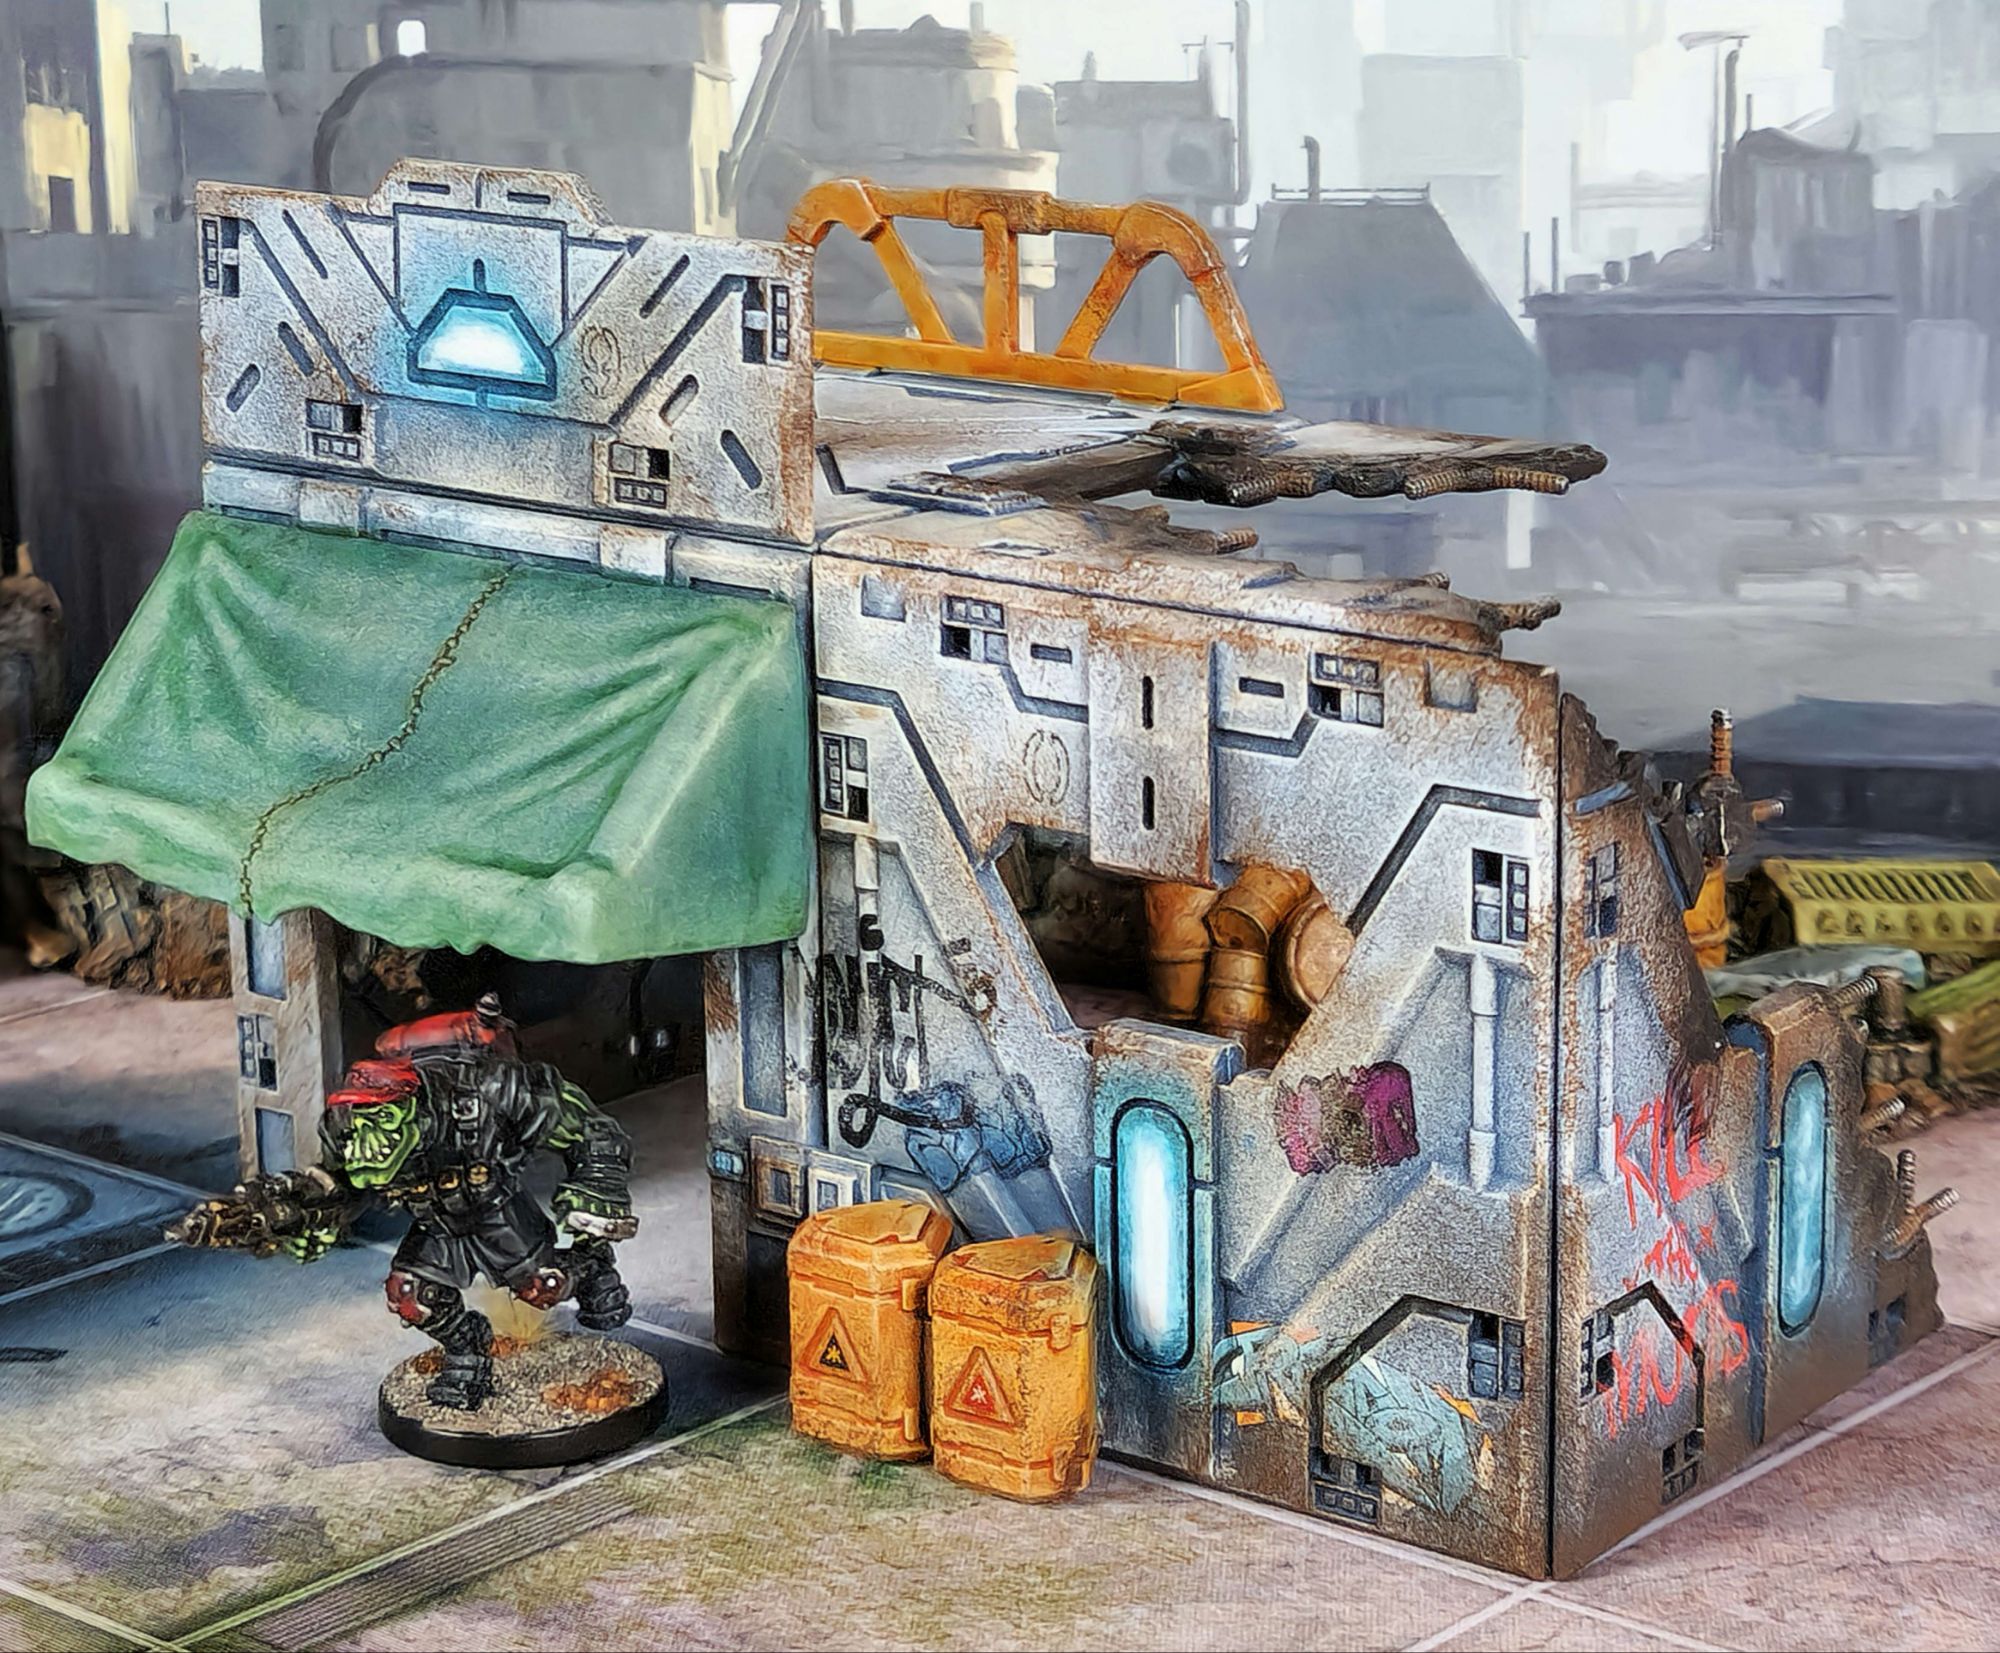
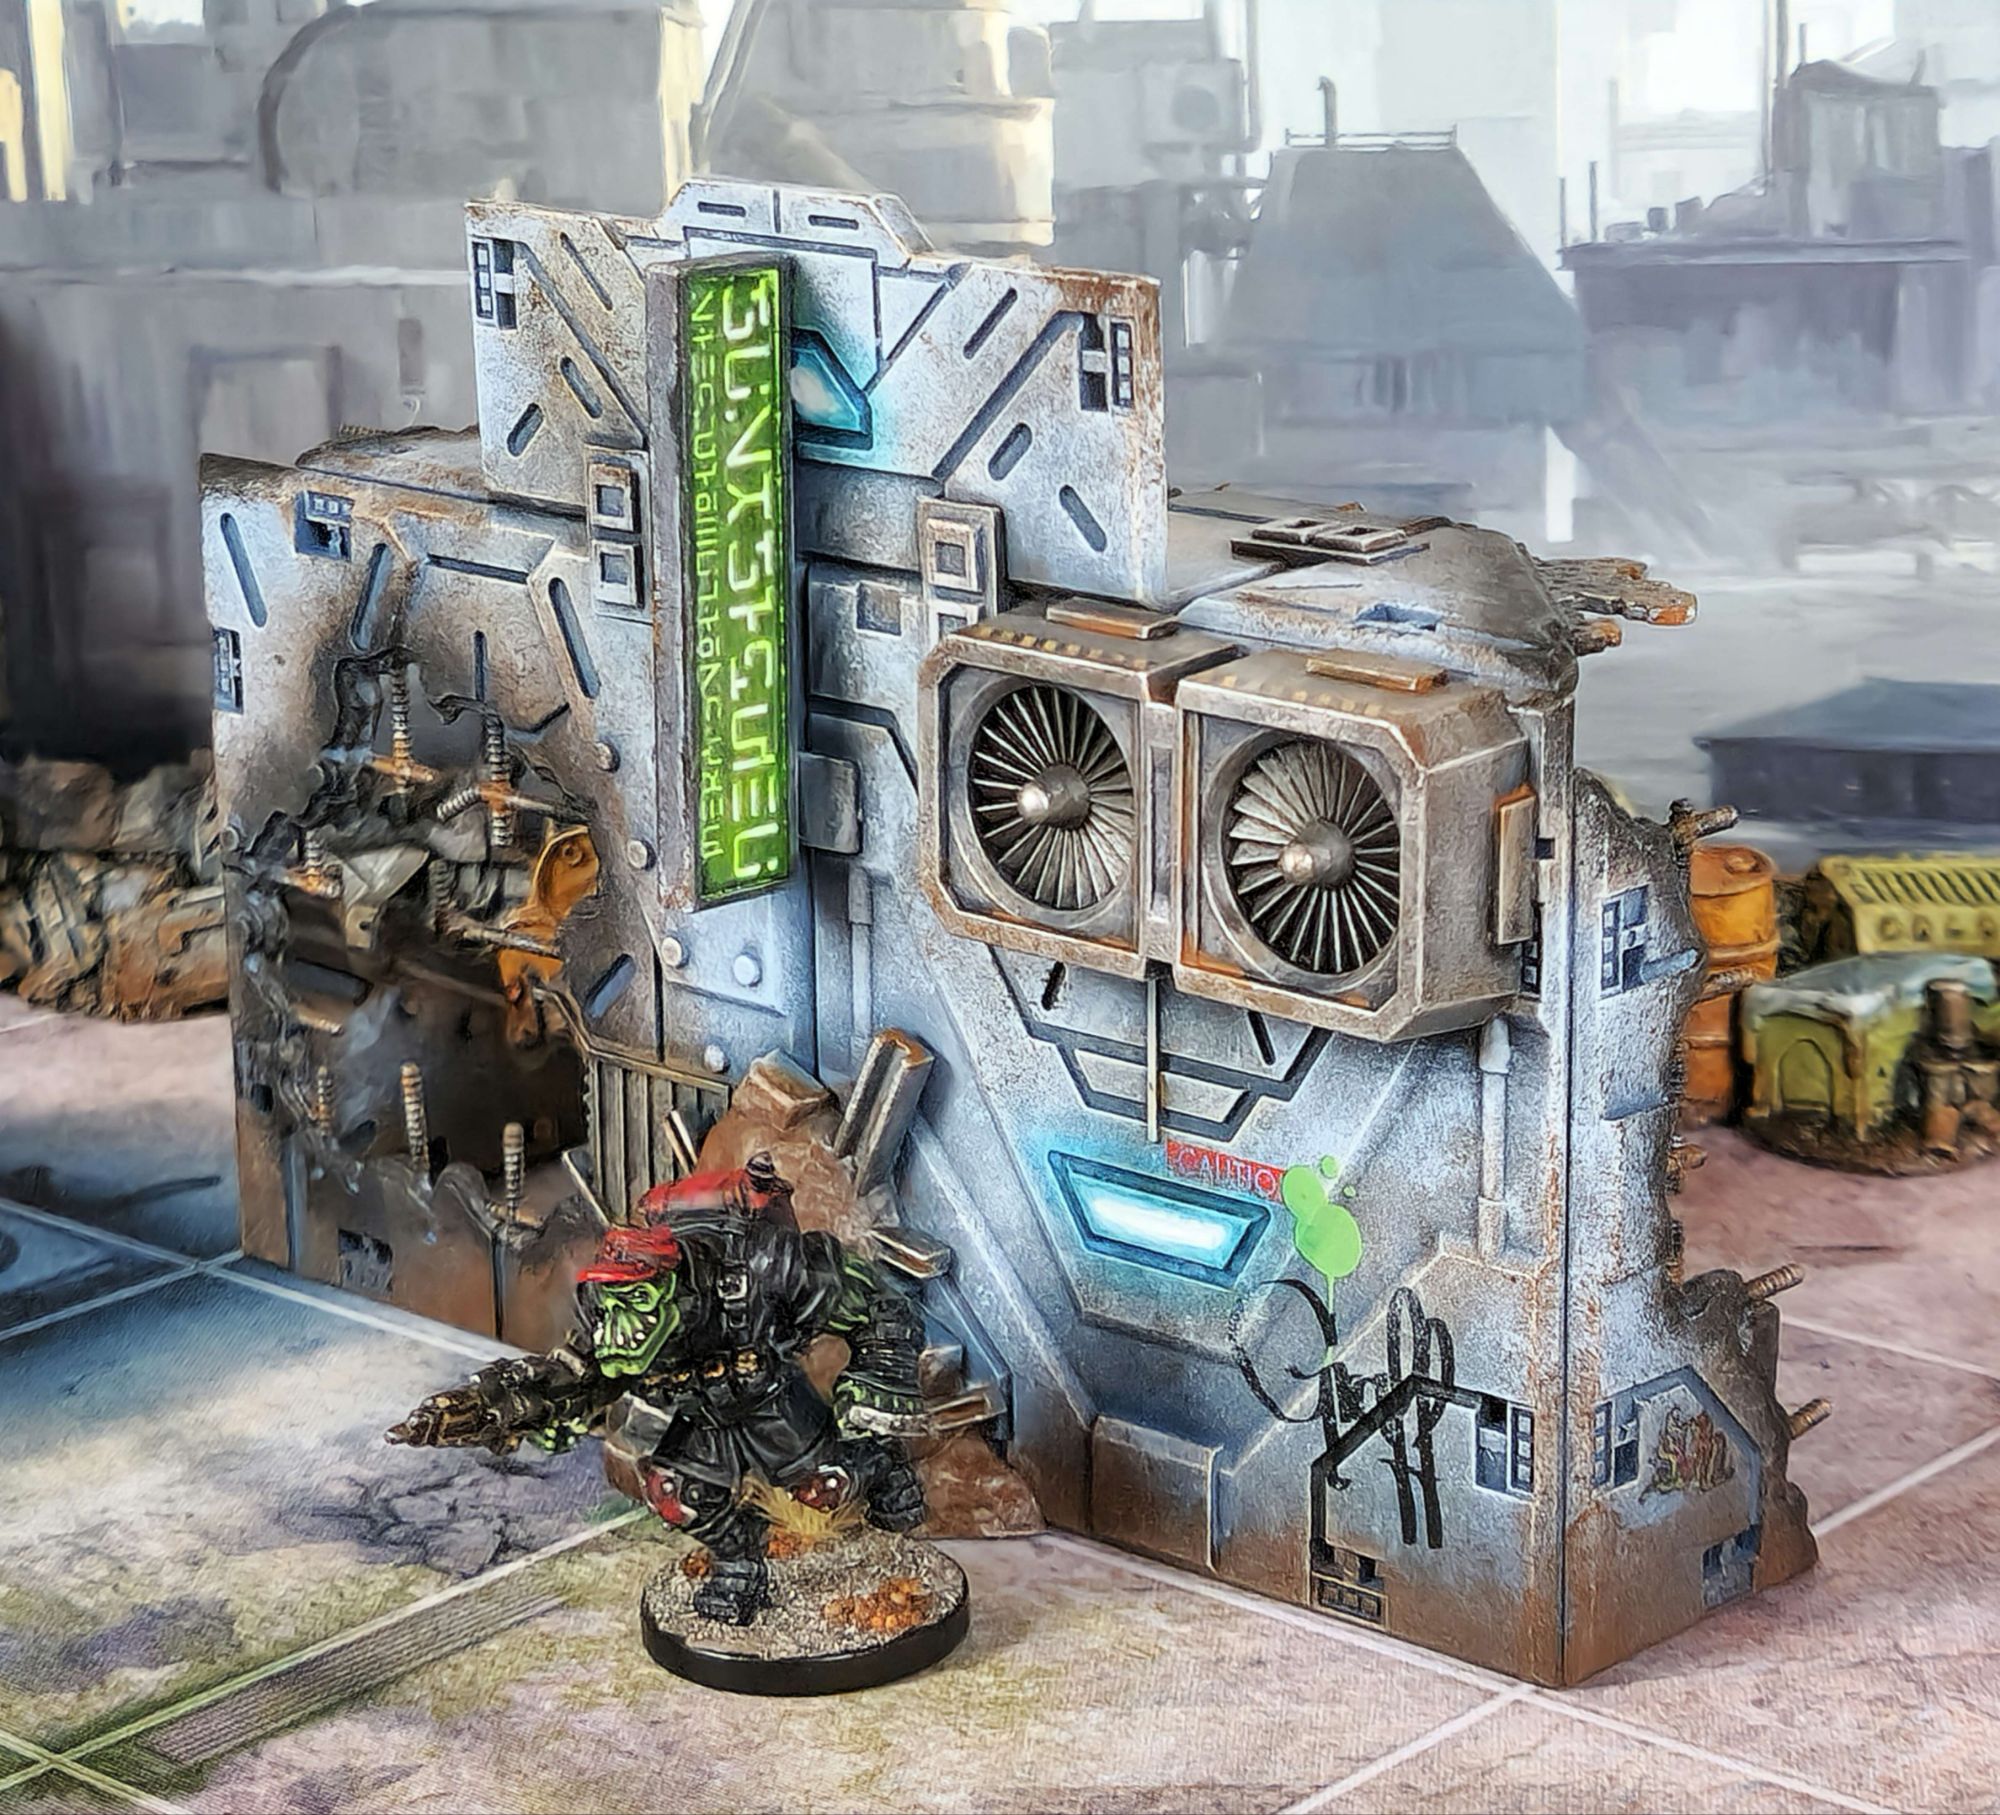
The bright signs and lights really liven it up! Definitely a step up from standard “wartorn city” terrain. More like a lived in city that happens to have frequent firefights
LikeLiked by 1 person
Thanks AM!
The fairly loose idea was that the ruins are somehow a shanty made from prefabricated modular parts.
So maybe a colony ship full of prefab building elements arrives and prefab buildings go up.
Over time the prefabs are replaced with buildings probably made from local materials.
50 to 100 years after a colony like say “Hadleys Hope” has been set up, the original prefab elements have been scavenged, possibly multiple times and have conglomerated into a seedy but potentially vibrant part of town.
Whether that truly makes any sense is secondary to being able to play games in brightly coloured, evocative terrain 🙂
LikeLike
Lol… If you start worrying about these things making sense, it’s all downhill from there 😁
You really did nail that cobbled together look though! 👏👏
LikeLiked by 1 person
[…] Deadzone 3.0 Terrain @ Sho3box – NOT YET DONE […]
LikeLike